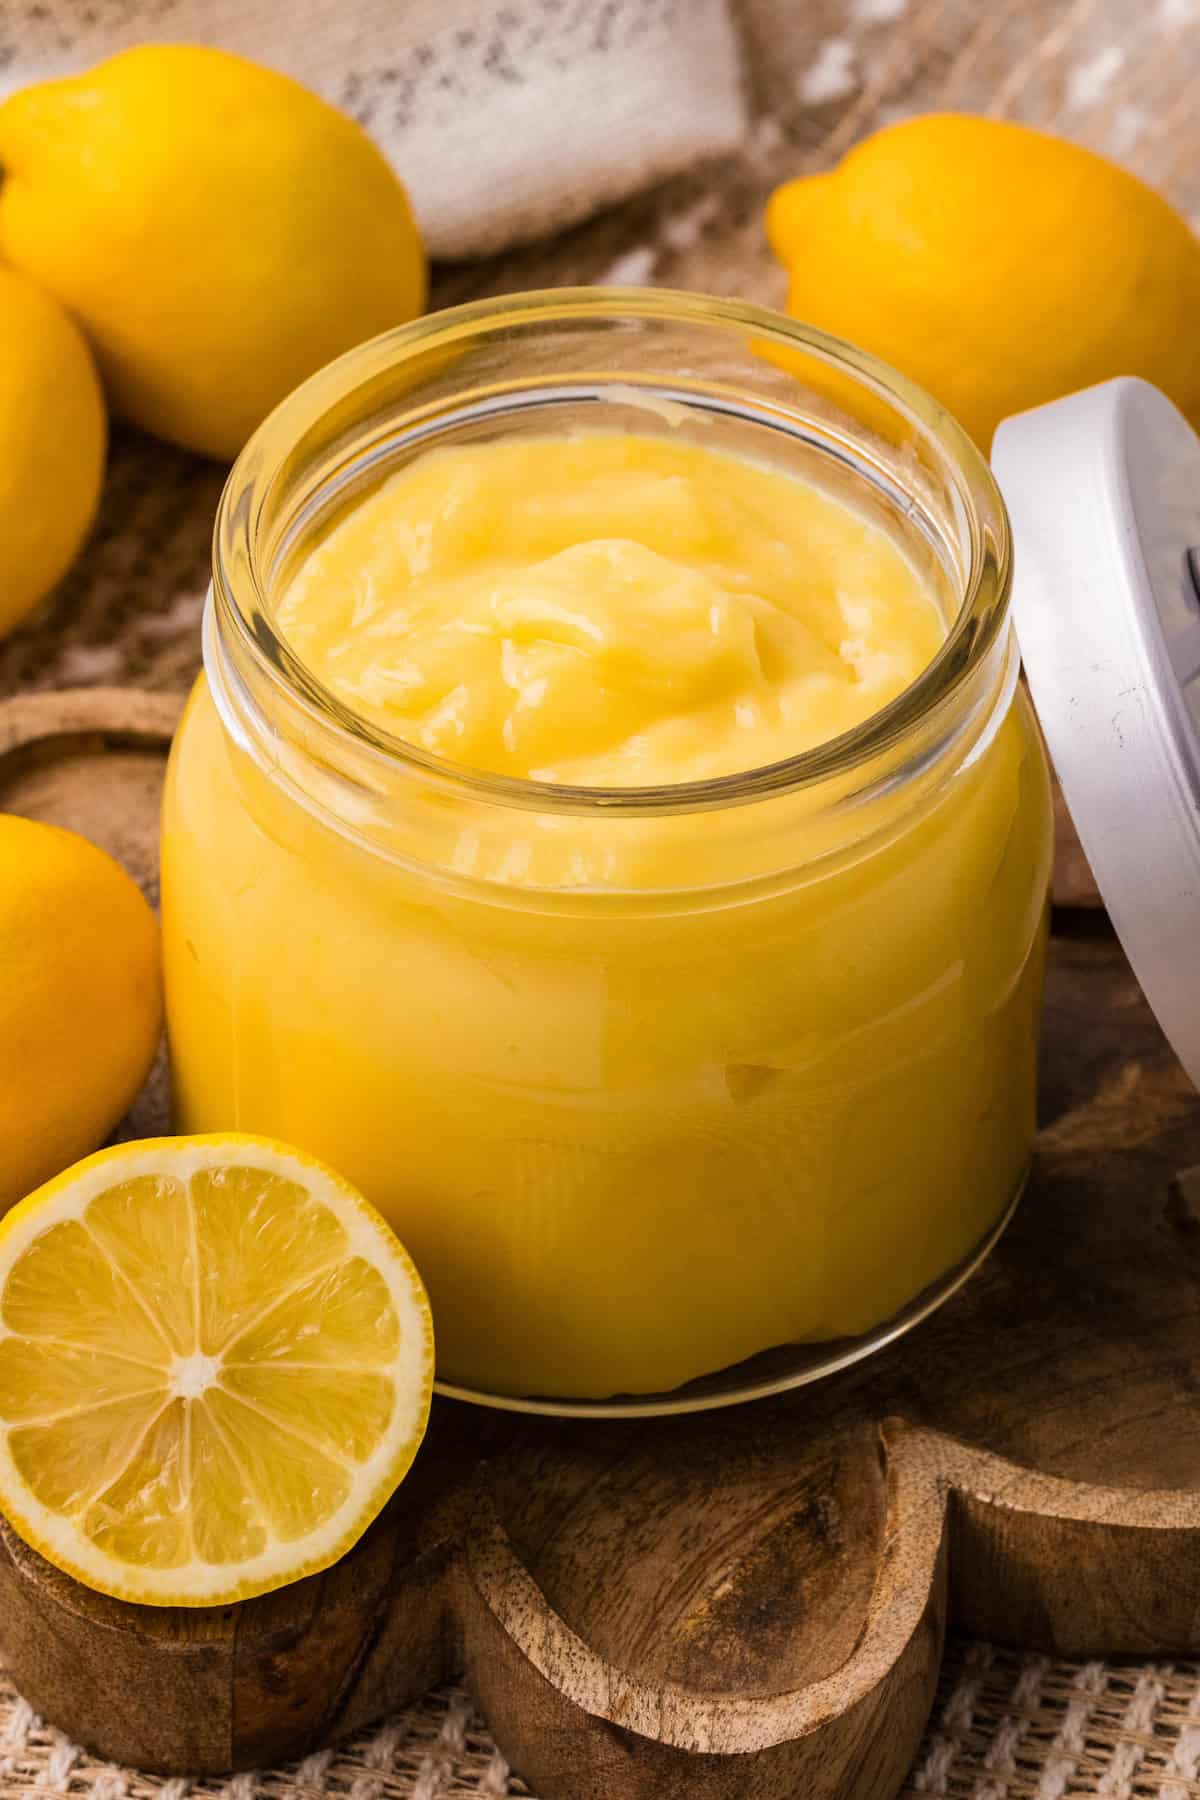
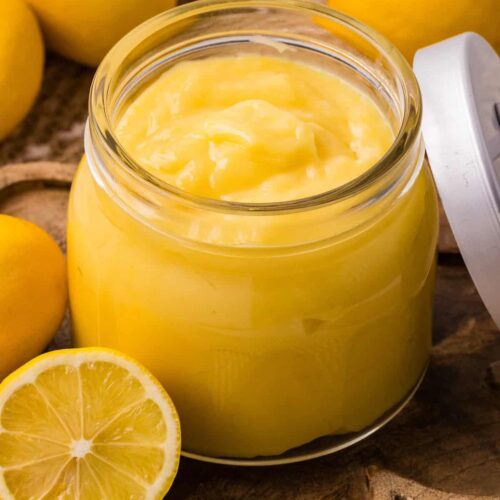
Easy Instant Pot Lemon Curd (Silky, Bright & Foolproof)
There’s something so special about homemade lemon curd. It’s bright, creamy, and bursting with fresh citrus flavor — the kind of simple recipe that instantly elevates breakfast, desserts, and afternoon treats.
This Instant Pot Lemon Curd makes the process incredibly easy. Instead of standing over the stove constantly stirring and worrying about curdling eggs, the Instant Pot gently cooks the mixture for you, giving you smooth, silky lemon curd every single time.
Made with fresh lemon juice, lemon zest, eggs, sugar, and butter, this recipe delivers that classic tangy-sweet flavor with a rich, velvety texture. The best part? It only takes a few minutes of prep and the Instant Pot does the rest.
Would you like to save this?
This post contains affiliate links. If you purchase through these links, I may earn a small commission at no extra cost to you. I only share products I truly use and love.
What Is Lemon Curd?
Lemon curd is a classic citrus spread made from lemon juice, eggs, sugar, and butter that is gently cooked until thick and creamy. The eggs create the custard-like texture while the butter adds richness and smoothness.
Traditionally, lemon curd is cooked slowly on the stovetop, but using the Instant Pot simplifies the process and produces consistent results with very little effort. The result is a luxuriously smooth citrus spread that balances bright tartness with sweet, buttery richness.
Why You’ll Love This Instant Pot Lemon Curd
- Foolproof method – No stovetop babysitting or risk of scrambled eggs.
- Bright lemon flavor – Fresh juice and zest make all the difference.
- Silky smooth texture – Rich and creamy with a glossy finish.
- Versatile recipe – Perfect for desserts, breakfast, and baking.
- Make-ahead friendly – Keeps well in the fridge or freezer.
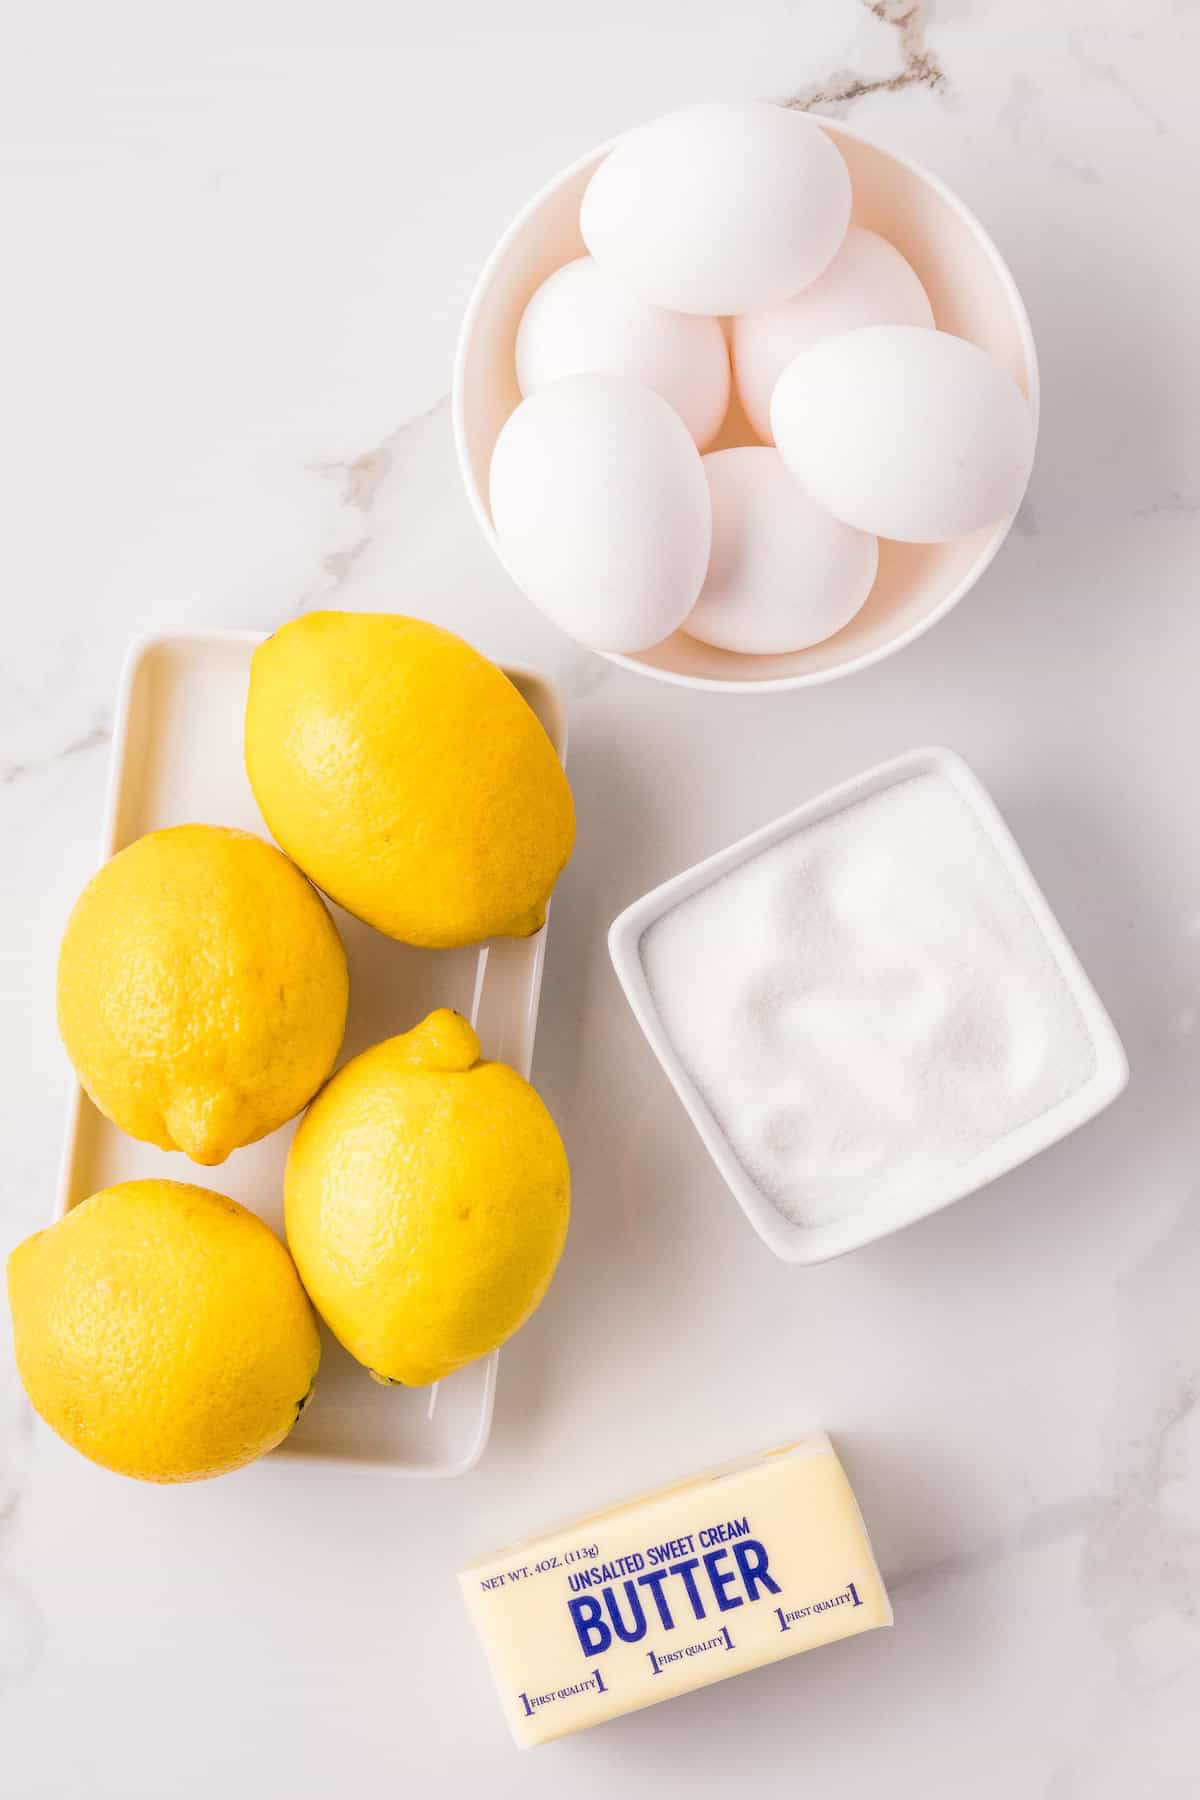
Ingredients You’ll Need
- Granulated sugar – Adds sweetness and balances the tart lemon flavor while helping the curd thicken as it cooks.
- Lemon zest – Brings concentrated citrus oils that give the curd a bright, fresh lemon flavor. Don’t skip this step — it adds so much depth.
- Fresh lemon juice – Freshly squeezed lemon juice provides the signature tangy flavor that makes lemon curd so refreshing and vibrant.
- Whole eggs – Help thicken the curd and create that smooth, custard-like consistency.
- Egg yolks – Add richness and make the lemon curd extra creamy and silky.
- Butter (melted) – Stirred in for a velvety texture and glossy finish that makes the curd incredibly smooth.
For the full list of ingredients and step-by-step instructions, scroll down to the printable recipe card at the end of this post.
How to Shop for the Best Ingredients
- Granulated Sugar – Look for organic and fair-trade granulated sugar when possible. Fair-trade options support ethical farming practices.
- Lemons (for zest and juice) – Choose lemons that are bright yellow, smooth, and heavy for their size, which usually means they are juicy. Avoid lemons with dull skin, wrinkles, or soft spots. Since you’ll be using the zest, organic lemons are a great option to reduce pesticide residue.
- Eggs and Egg Yolks – Choose organic, free-range, pasture-raised eggs from chickens raised on pasture whenever possible.
- Butter – Look for organic butter made from pasture-raised cows.
Disclaimer: I share these ingredient tips based on my own experience and research. I am not a doctor or dietitian, and this information is not intended to replace professional medical advice.
Equipment You’ll Need
- Instant Pot – The Instant Pot gently pressure cooks the lemon curd, making the process easy and helping prevent the eggs from curdling.
- Heatproof bowl – Use an oven-safe glass bowl that fits comfortably inside your Instant Pot on the trivet. It should leave a little space around the sides so steam can circulate.
- Immersion blender – Helps blend the ingredients together before and after cooking to create an ultra-smooth, silky lemon curd.
- Aluminum foil – Used to tightly cover the bowl so condensation from the Instant Pot lid doesn’t drip into the lemon curd.
- Plastic wrap – Press plastic wrap directly onto the bowl of lemon curd after cooking to prevent a skin from forming as it chills in the refrigerator.
- Fine mesh sieve (optional) – If you want an extra silky texture, you can strain the lemon curd to remove the lemon zest and any tiny cooked egg bits
Step-by-Step Instructions
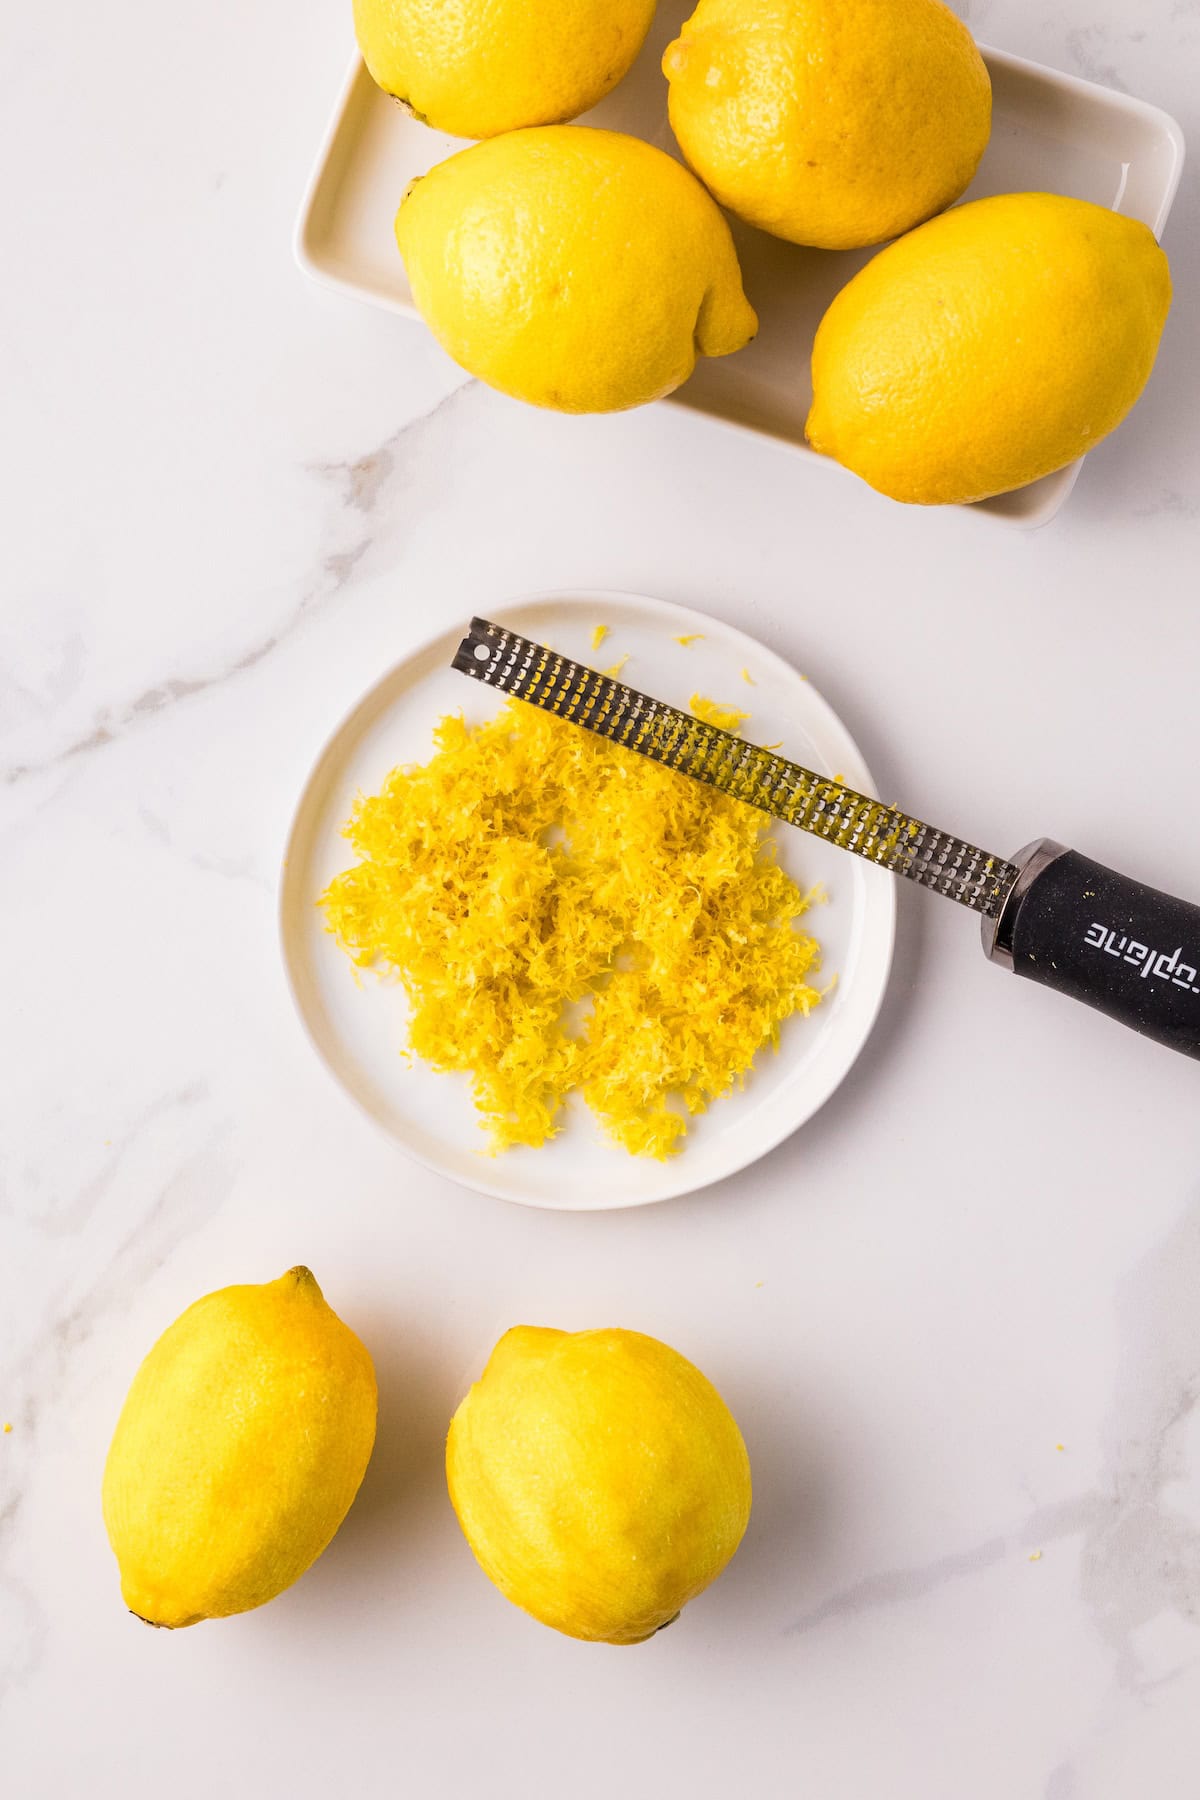
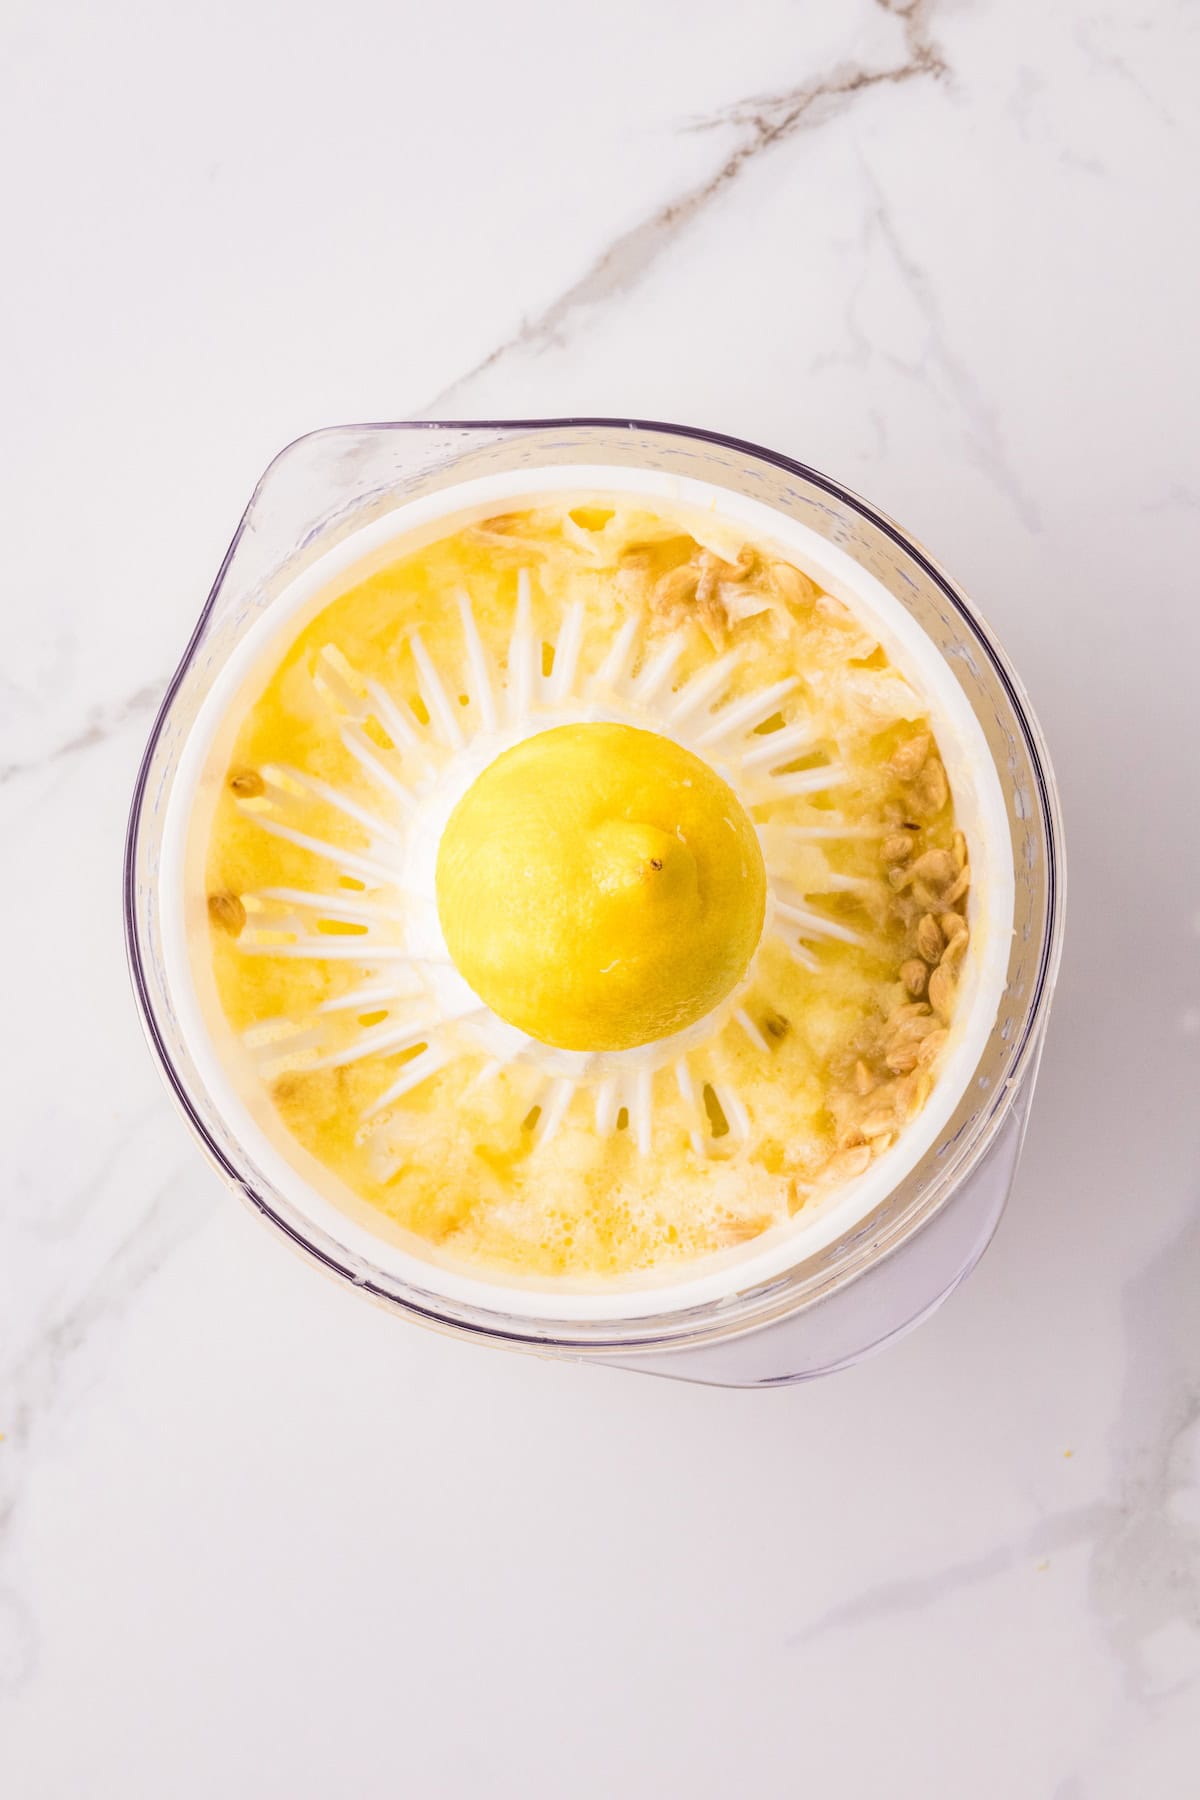
1. Prepare the lemons.
Zest the lemon first, then juice the lemons until you have the amount of juice needed for the recipe.

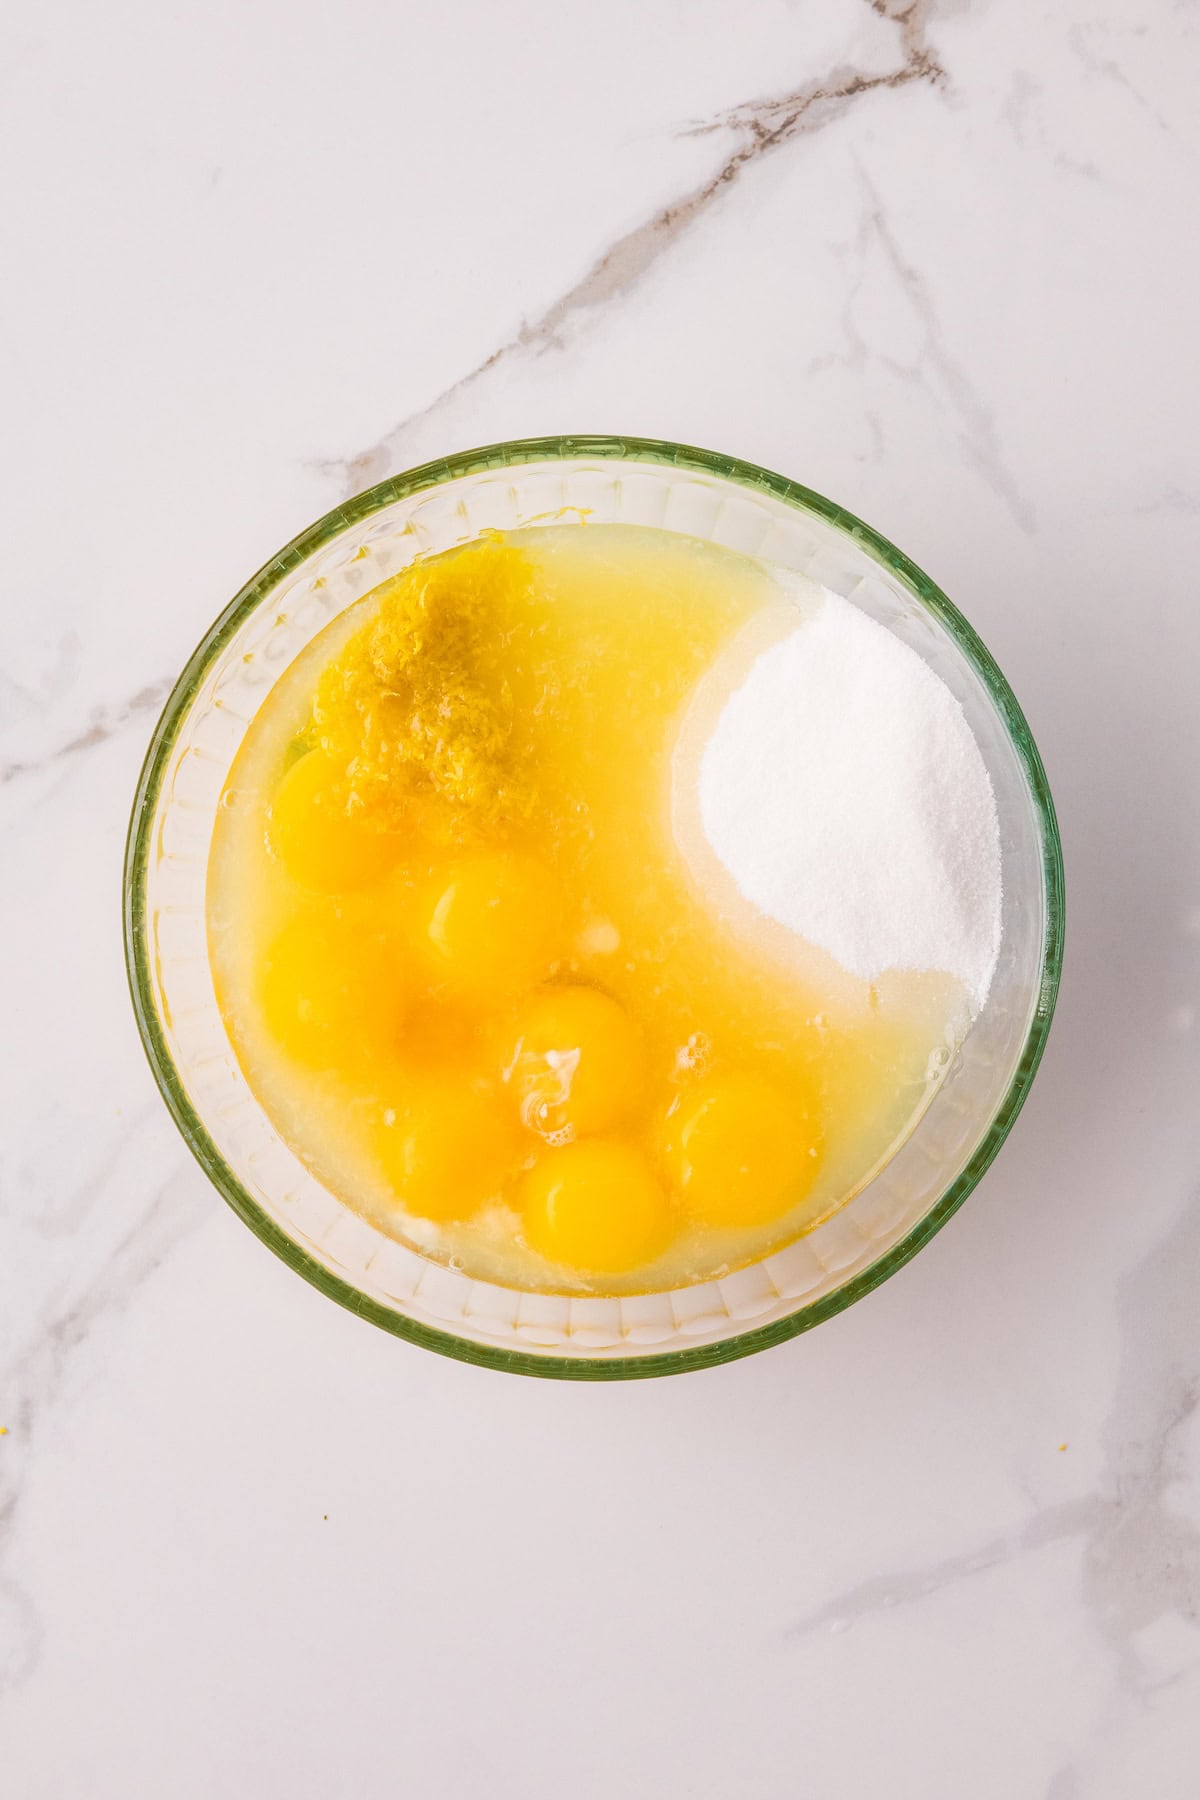
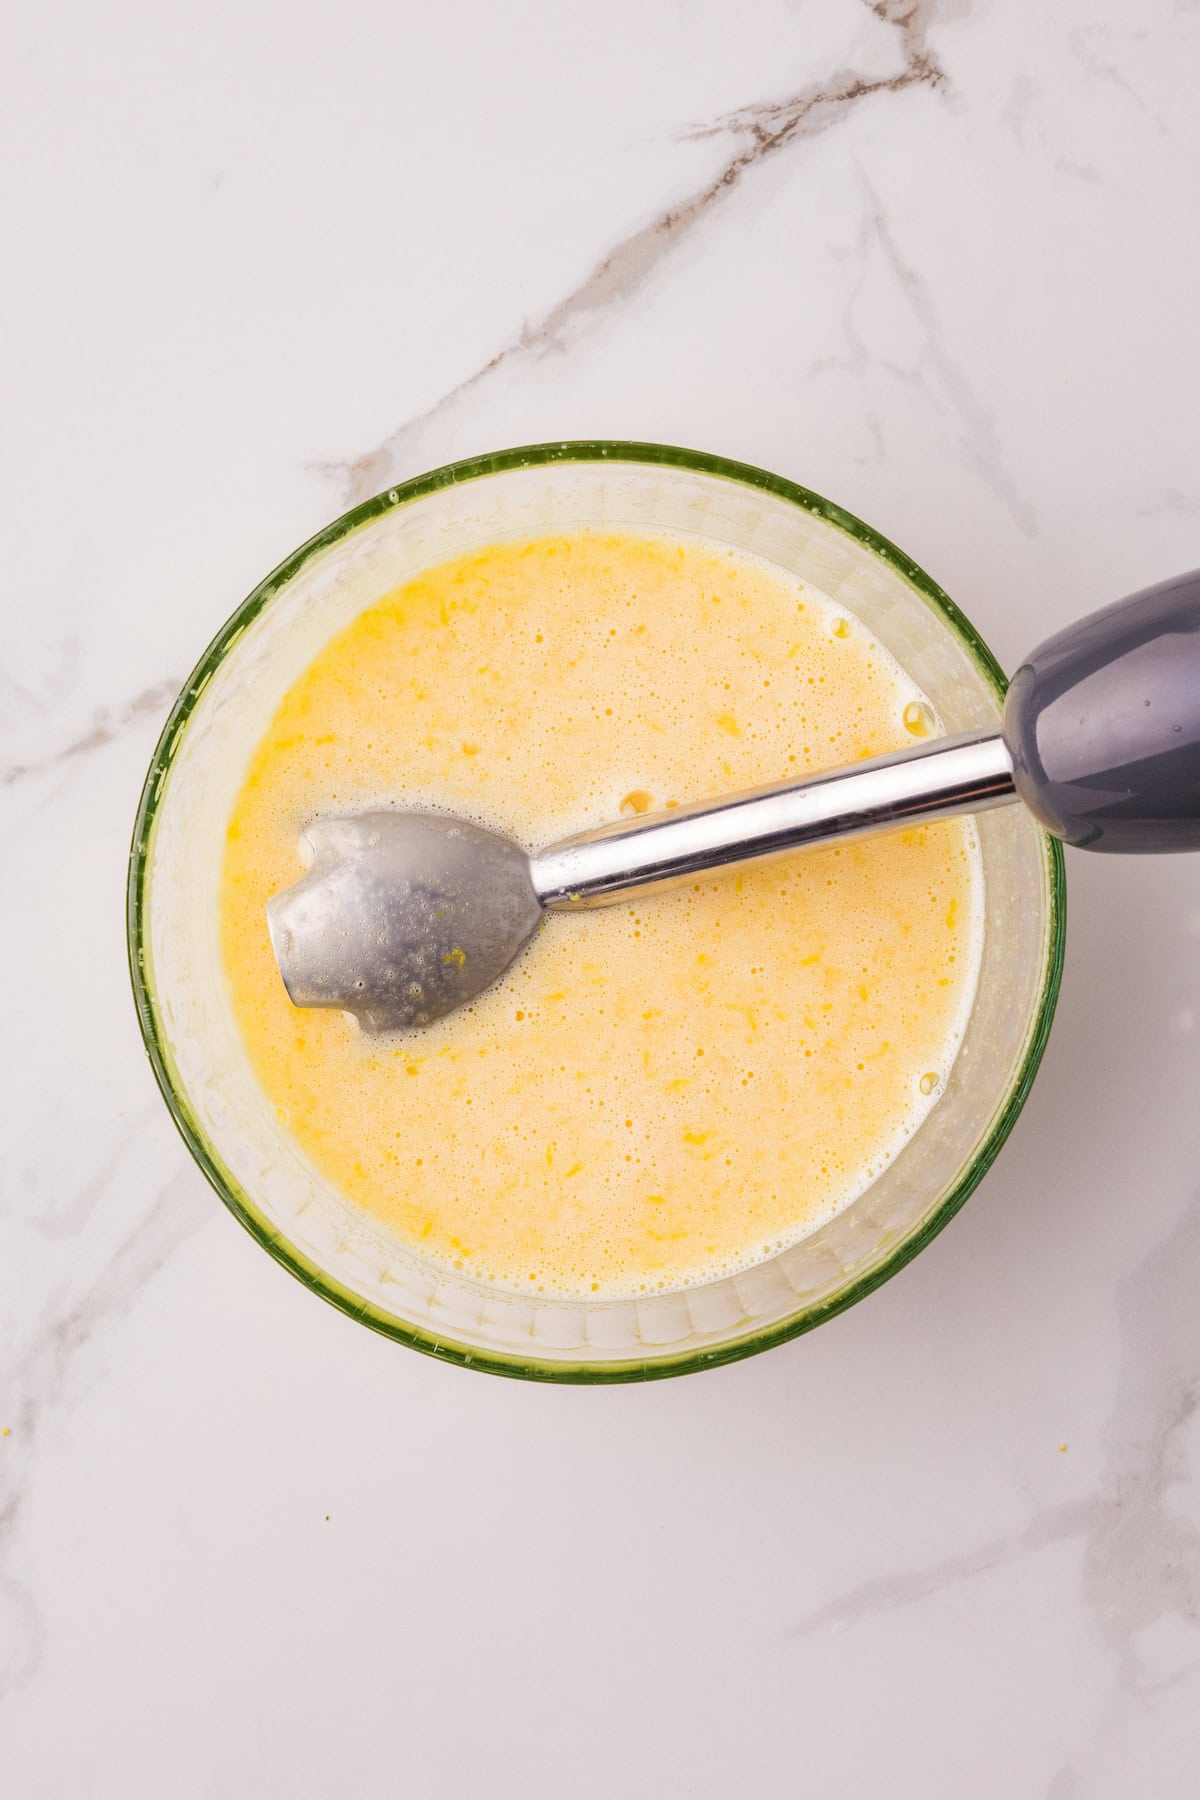
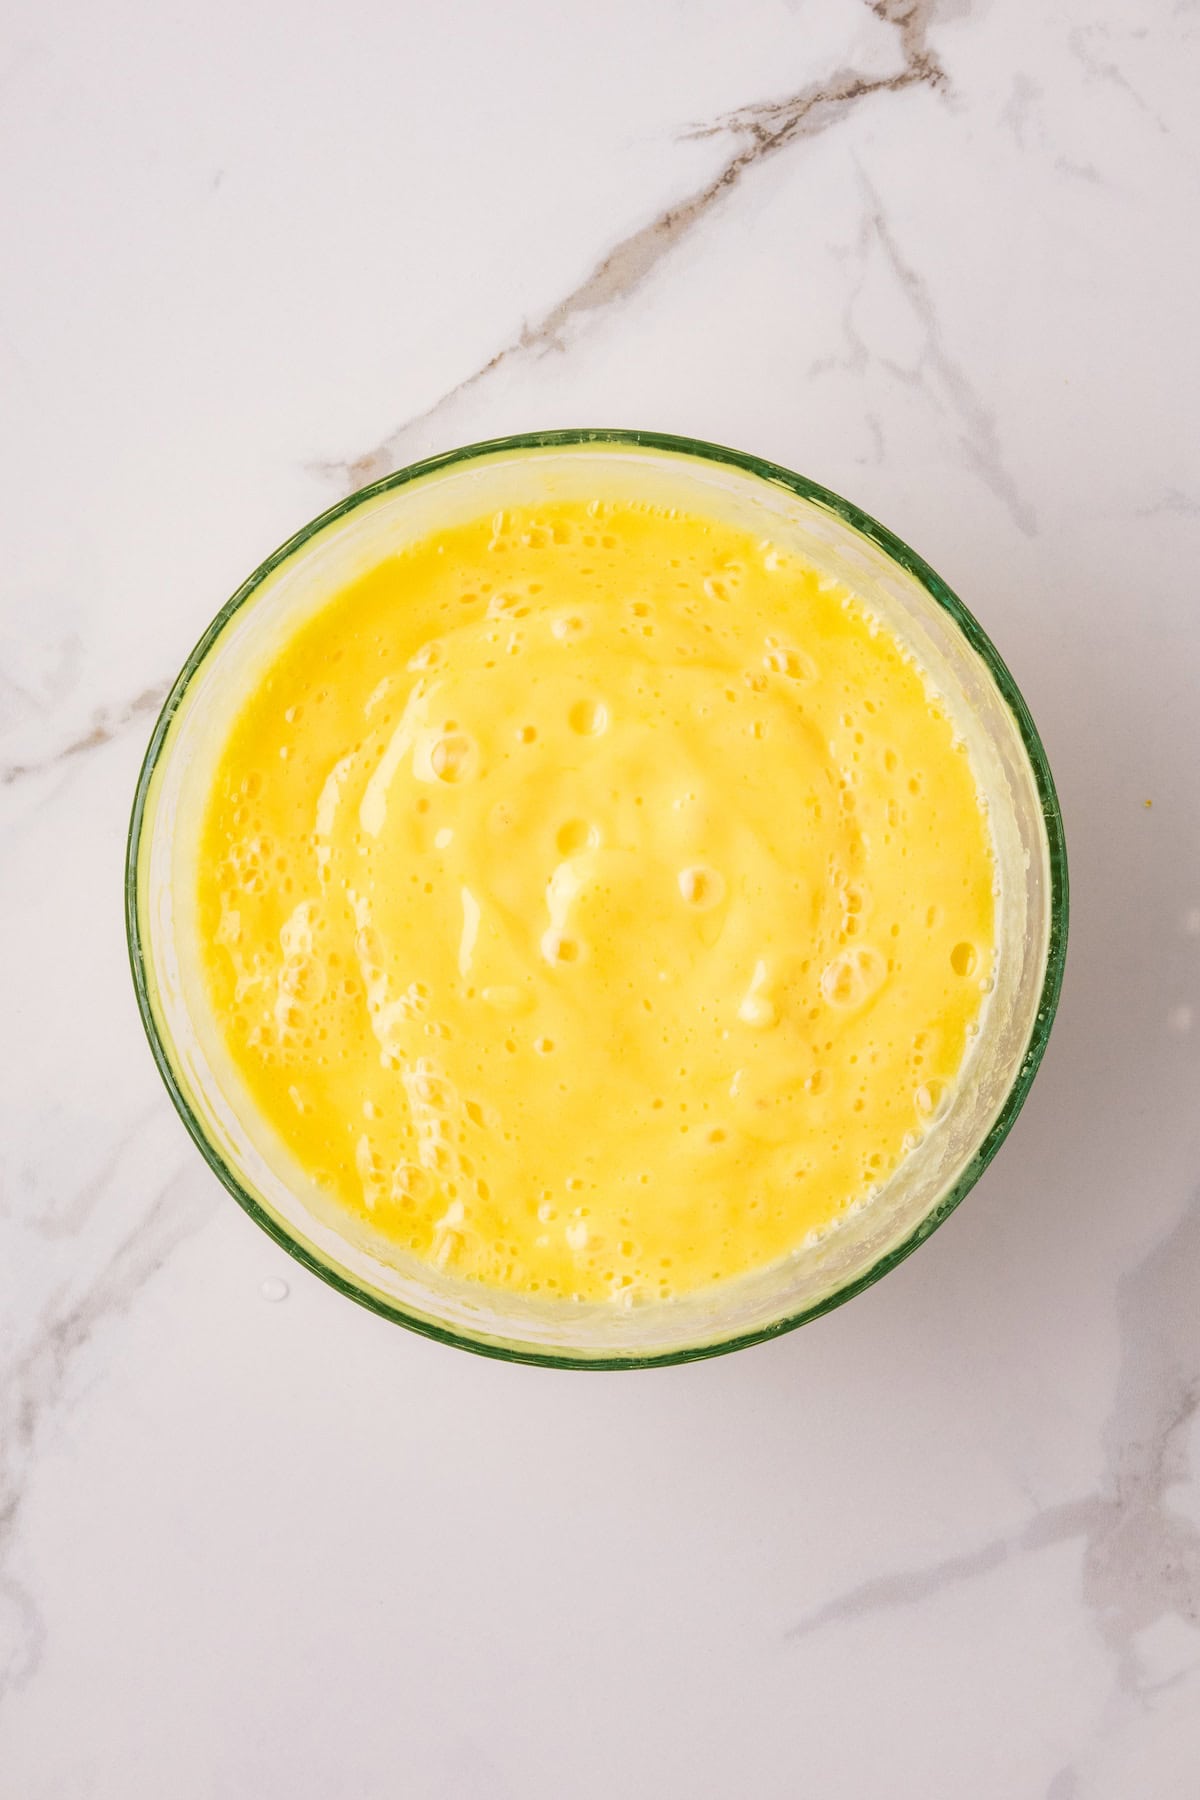
2. Blend the ingredients.
Add the sugar, lemon zest, lemon juice, eggs, and egg yolks to a heatproof glass bowl that fits inside your Instant Pot, making sure the bowl leaves a little space around the sides so steam can circulate. Using an immersion blender, blend until the mixture is completely smooth. Slowly stream in the melted butter while continuing to blend.
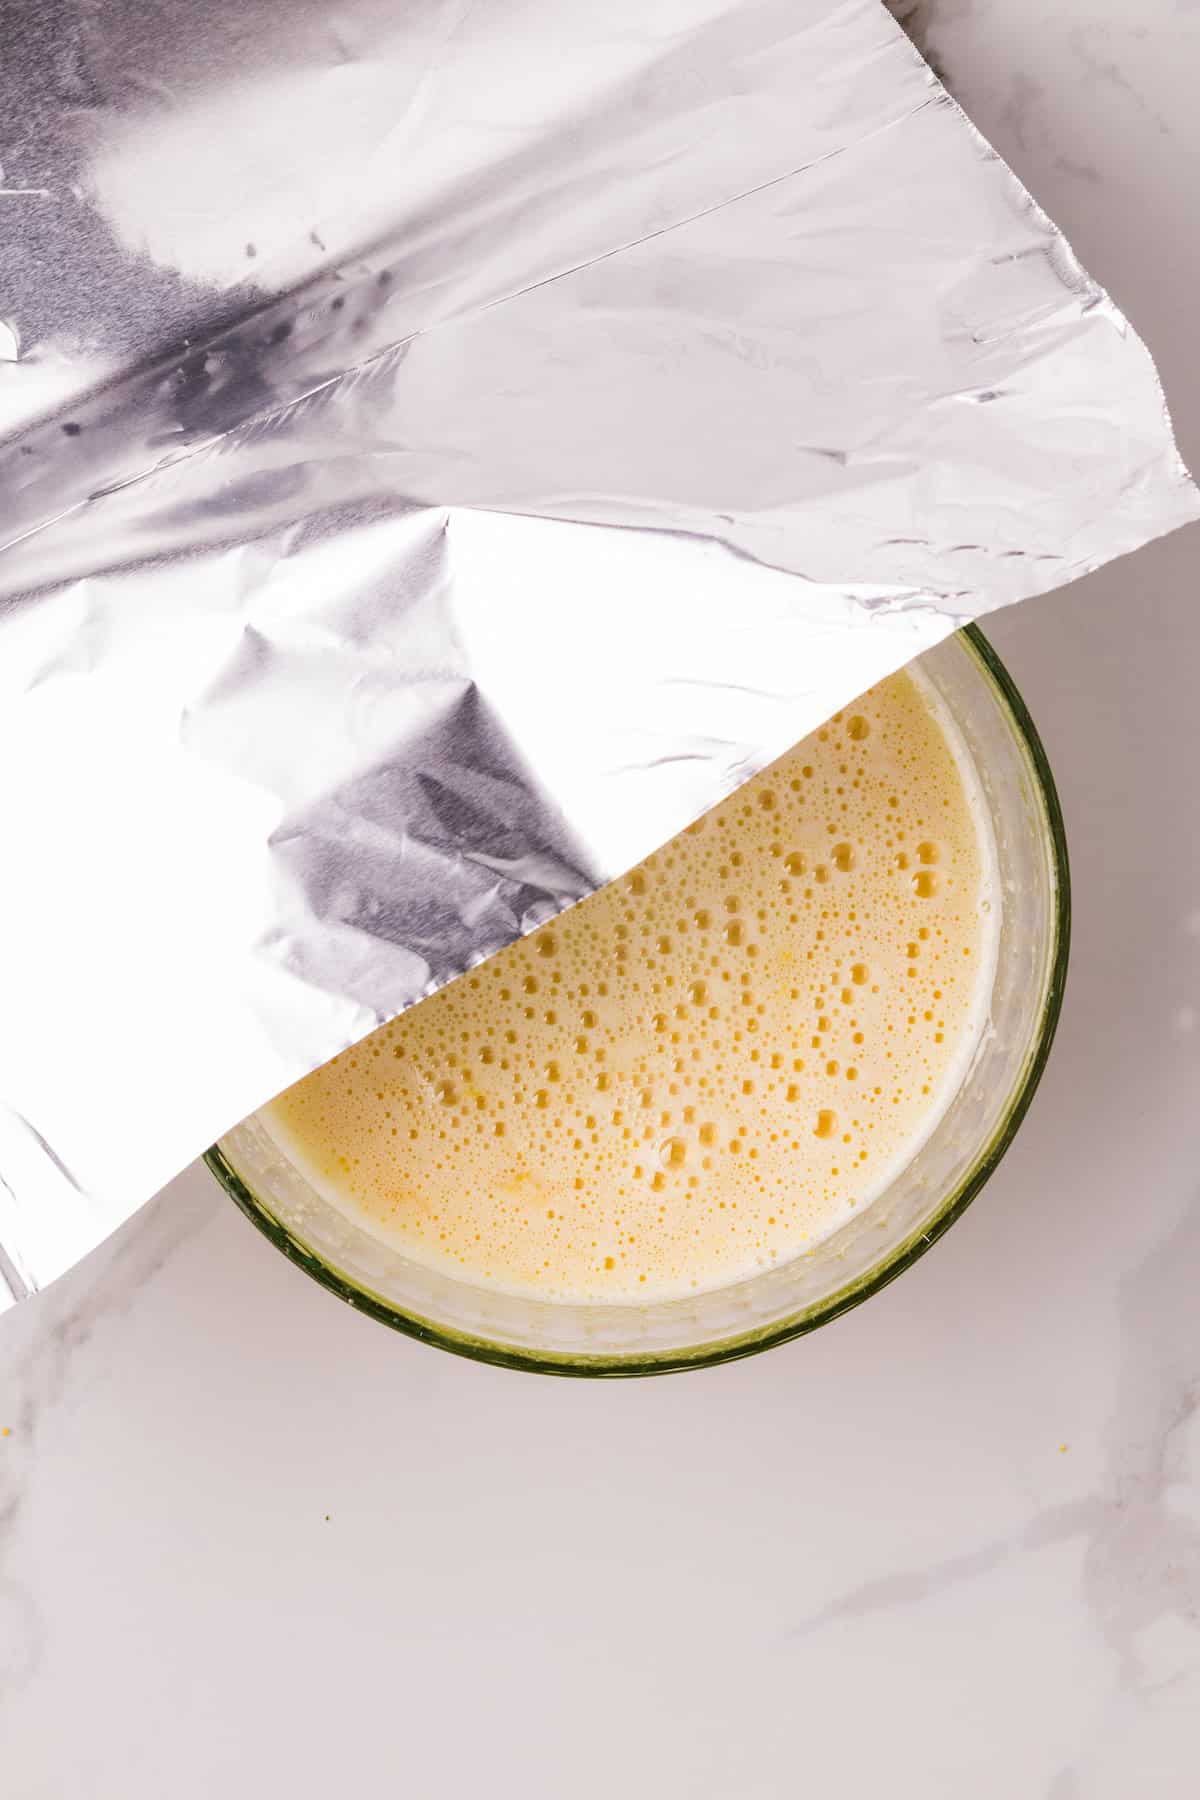
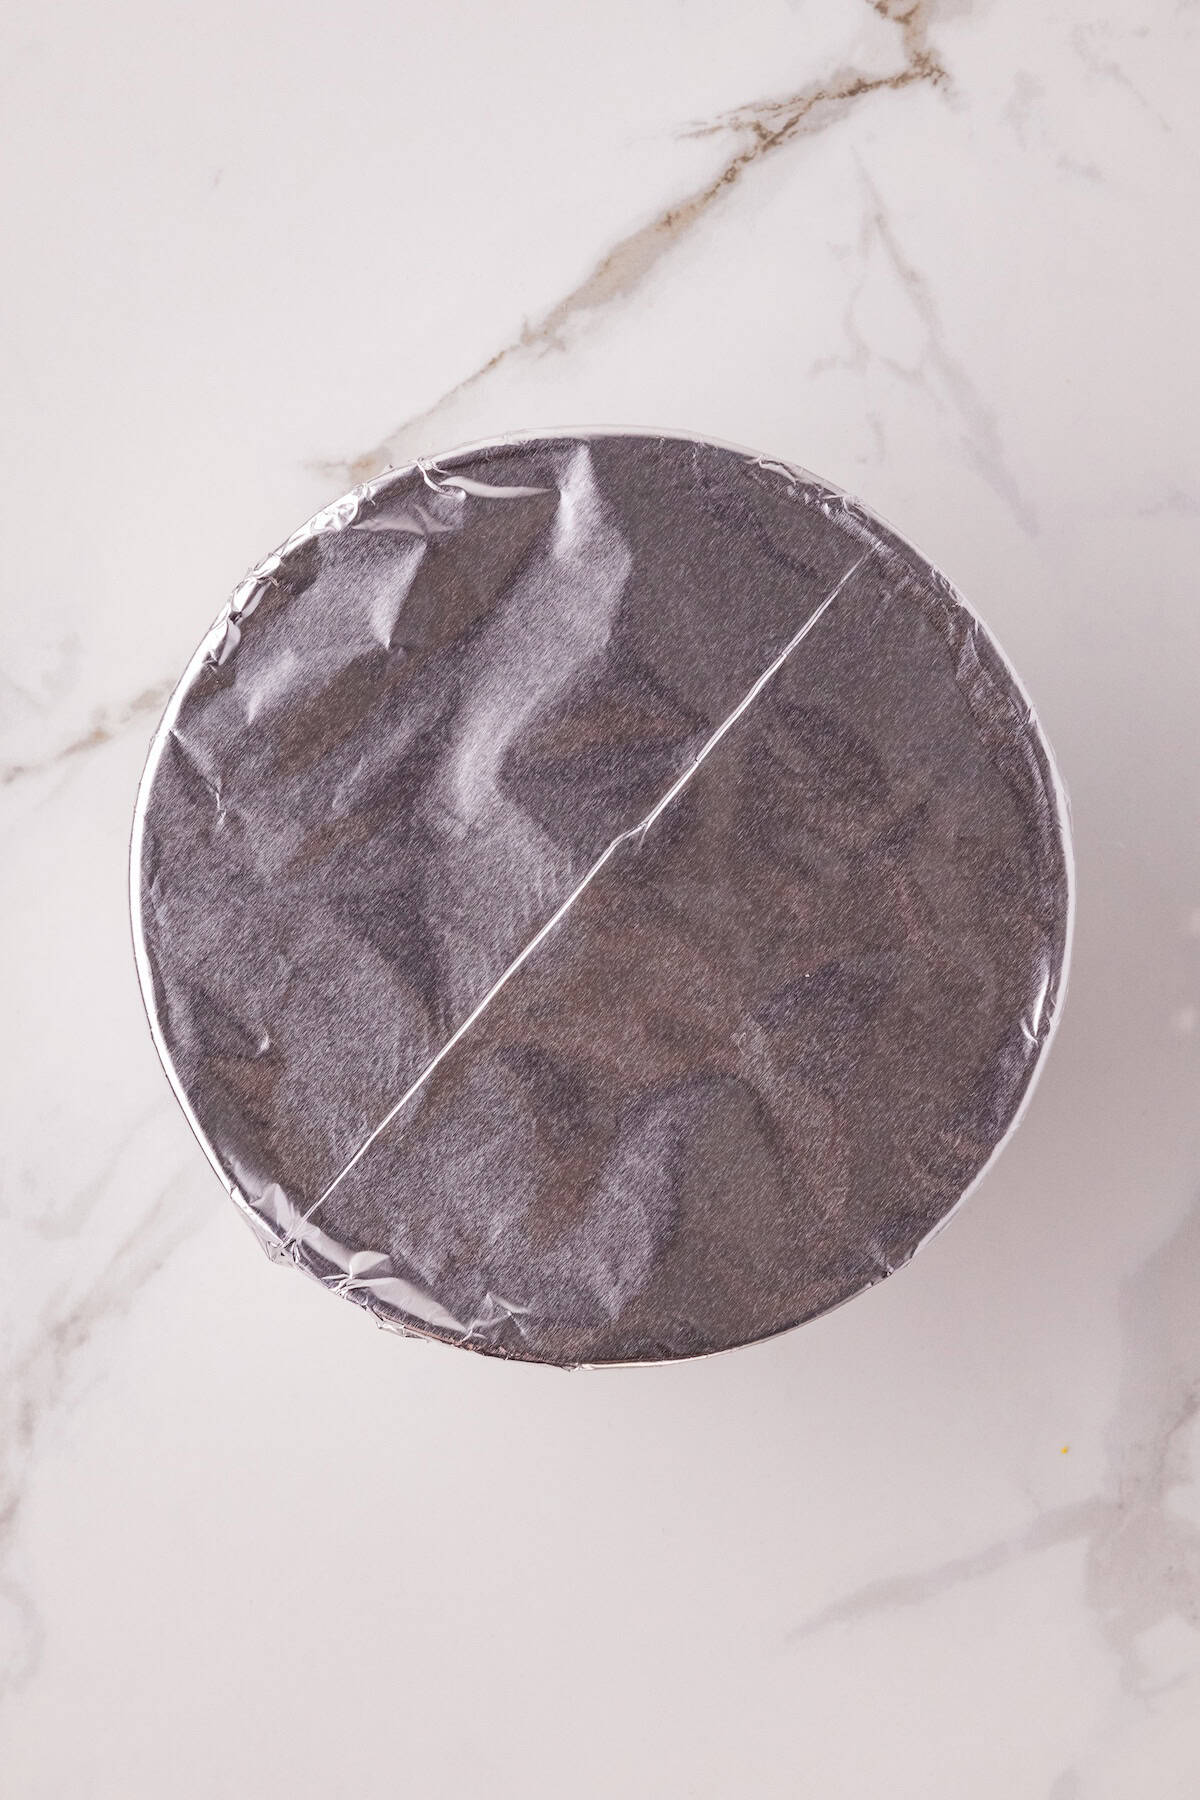
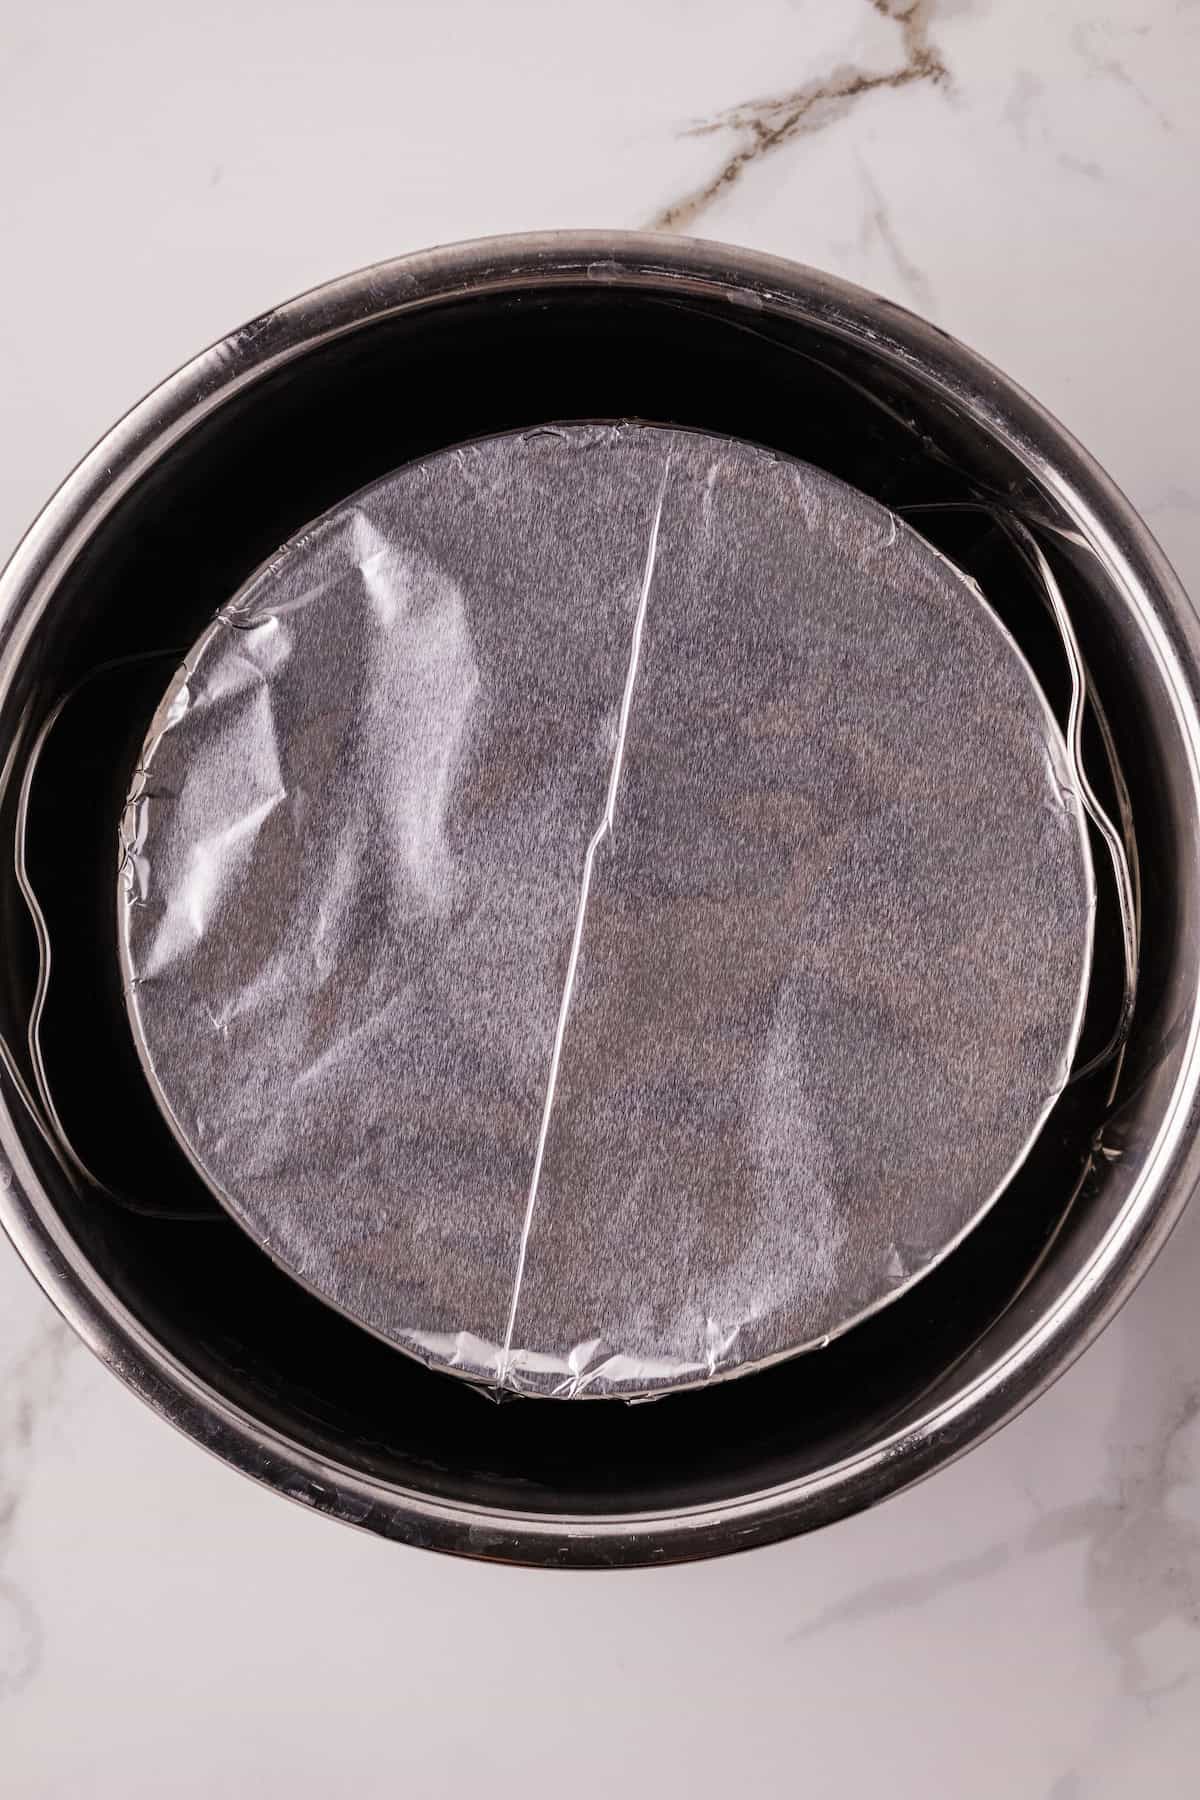
3. Cover the bowl.
Tightly cover the bowl with aluminum foil to prevent condensation from dripping into the lemon curd while it cooks.
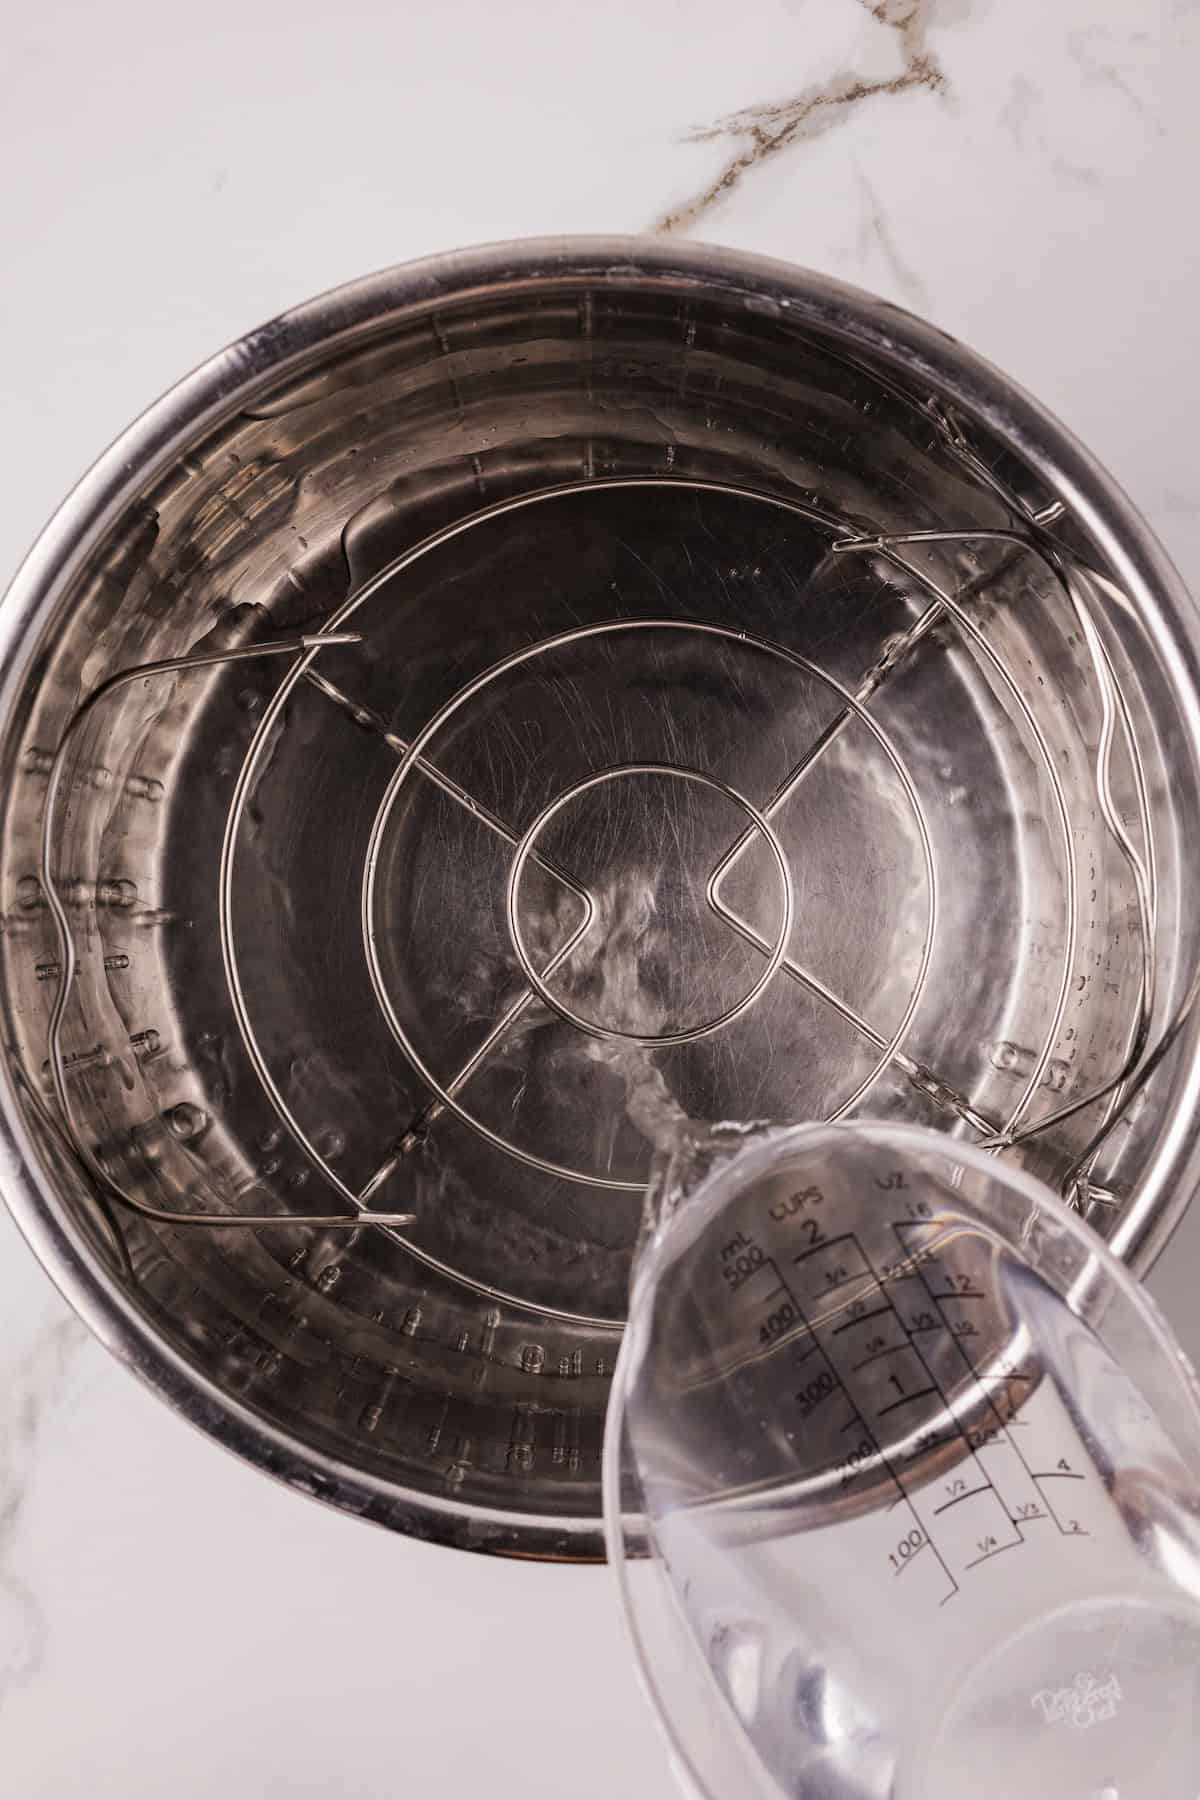
4. Prepare the Instant Pot.
Pour 1½ cups of water into the Instant Pot and place the trivet inside. Set the covered bowl on top of the trivet.
5. Pressure cook the lemon curd.
Secure the lid and ensure the pressure valve is set to “Sealing.” Set the Instant Pot to High Pressure for 10 minutes. Once the cooking time is complete, allow the pressure to naturally release for 10 minutes. This means do nothing and let the Instant Pot release pressure on its own. After 10 minutes, carefully turn the pressure valve to “Venting” to release any remaining pressure.
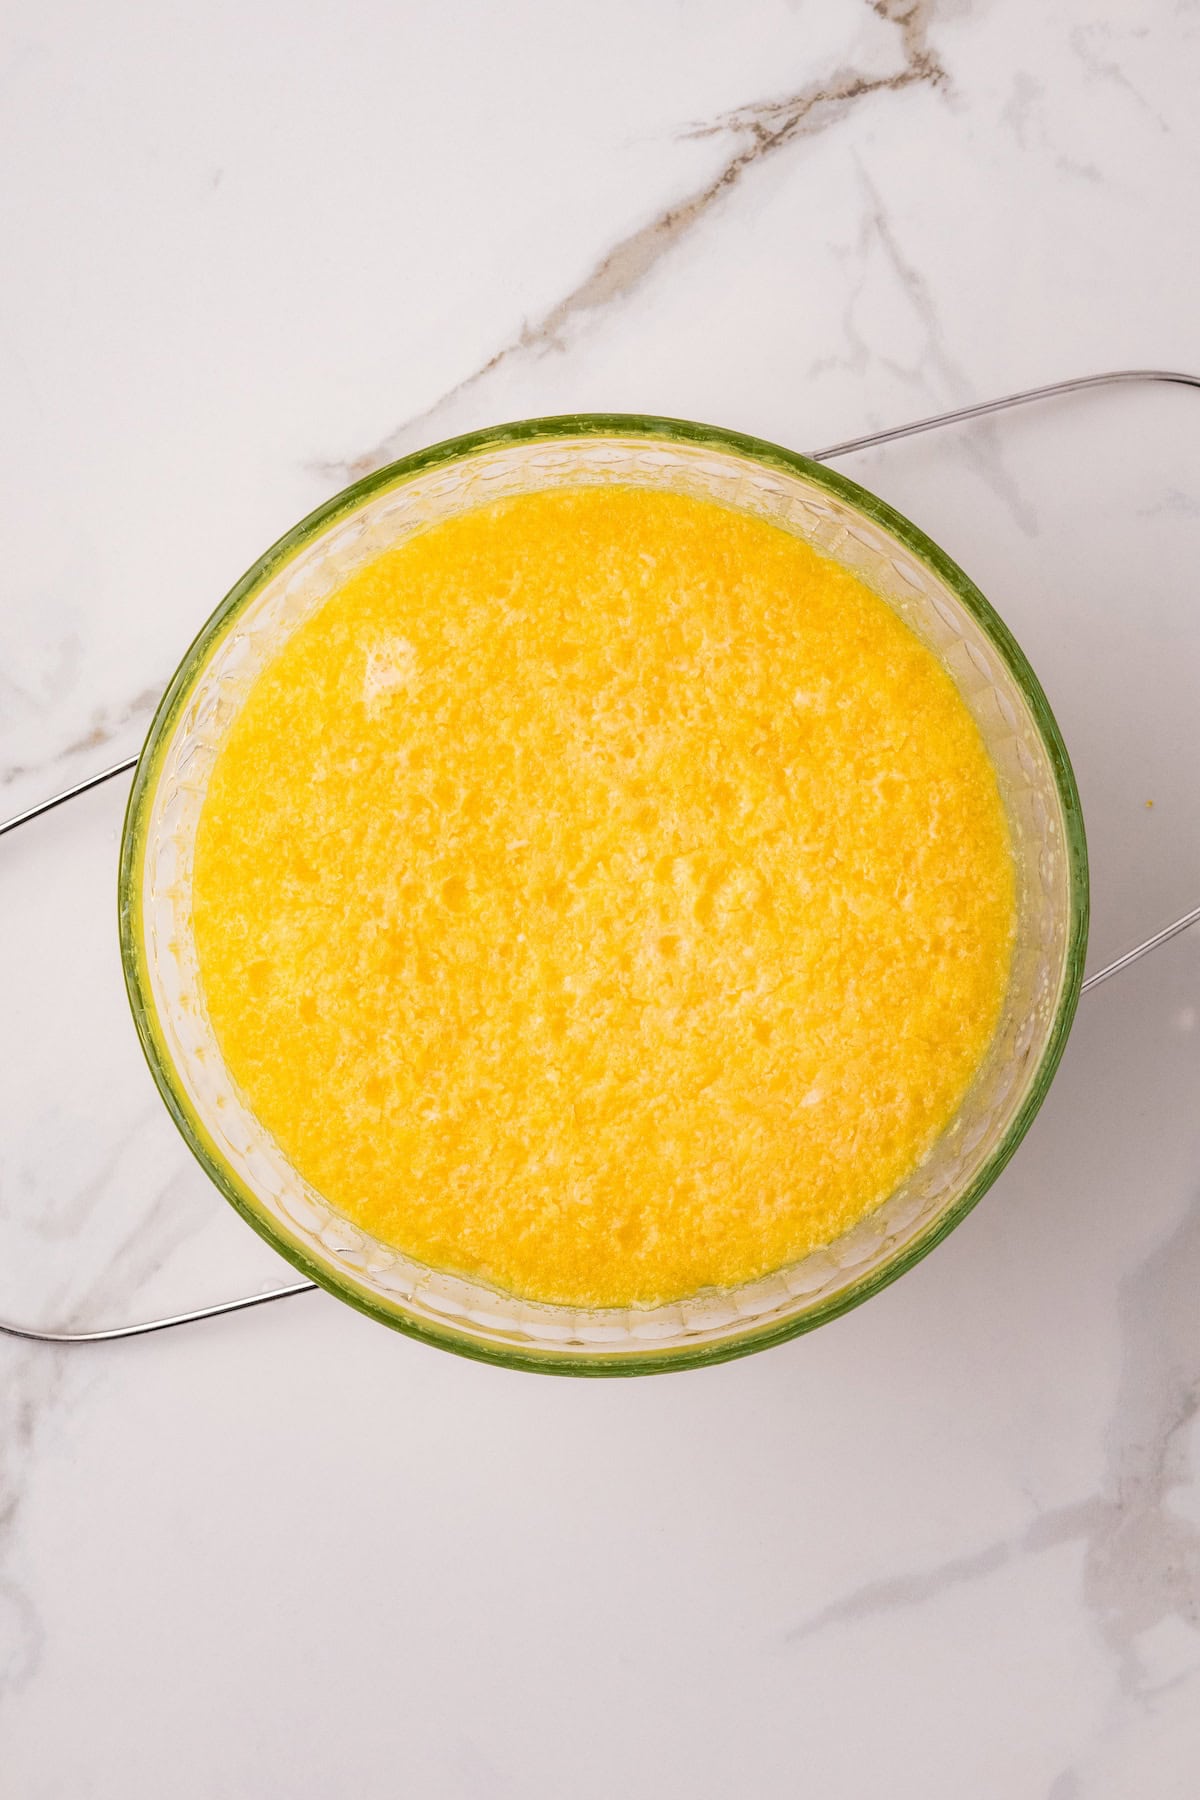
6. Blend until smooth.
Carefully remove the lid and lift the bowl out of the Instant Pot. Remove the foil and blend the lemon curd again with the immersion blender until smooth and silky. If your lemon curd looks slightly thin after cooking, don’t worry — it thickens significantly as it chills.
7. Chill the lemon curd
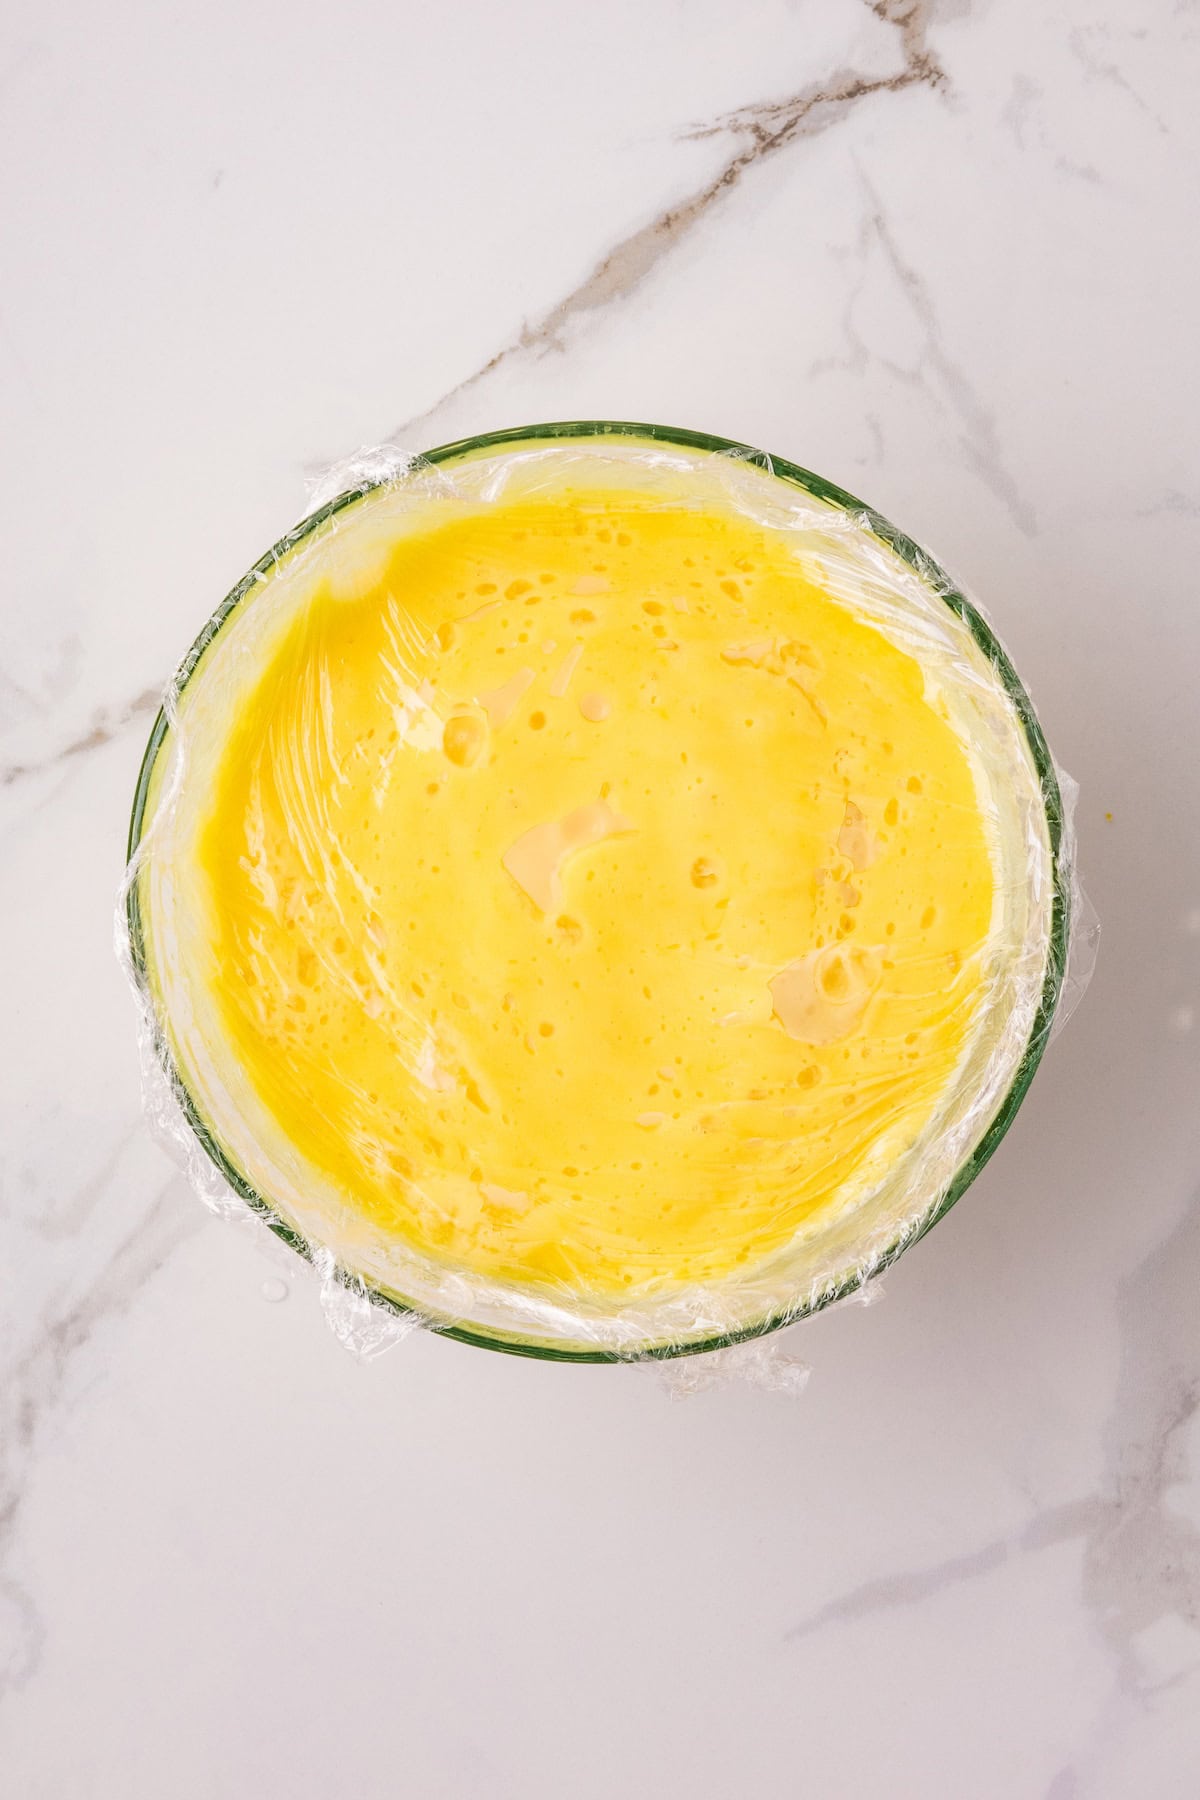
Press plastic wrap directly onto the bowl to prevent a skin from forming. Transfer to the refrigerator and chill for 1–2 hours, or until thickened.
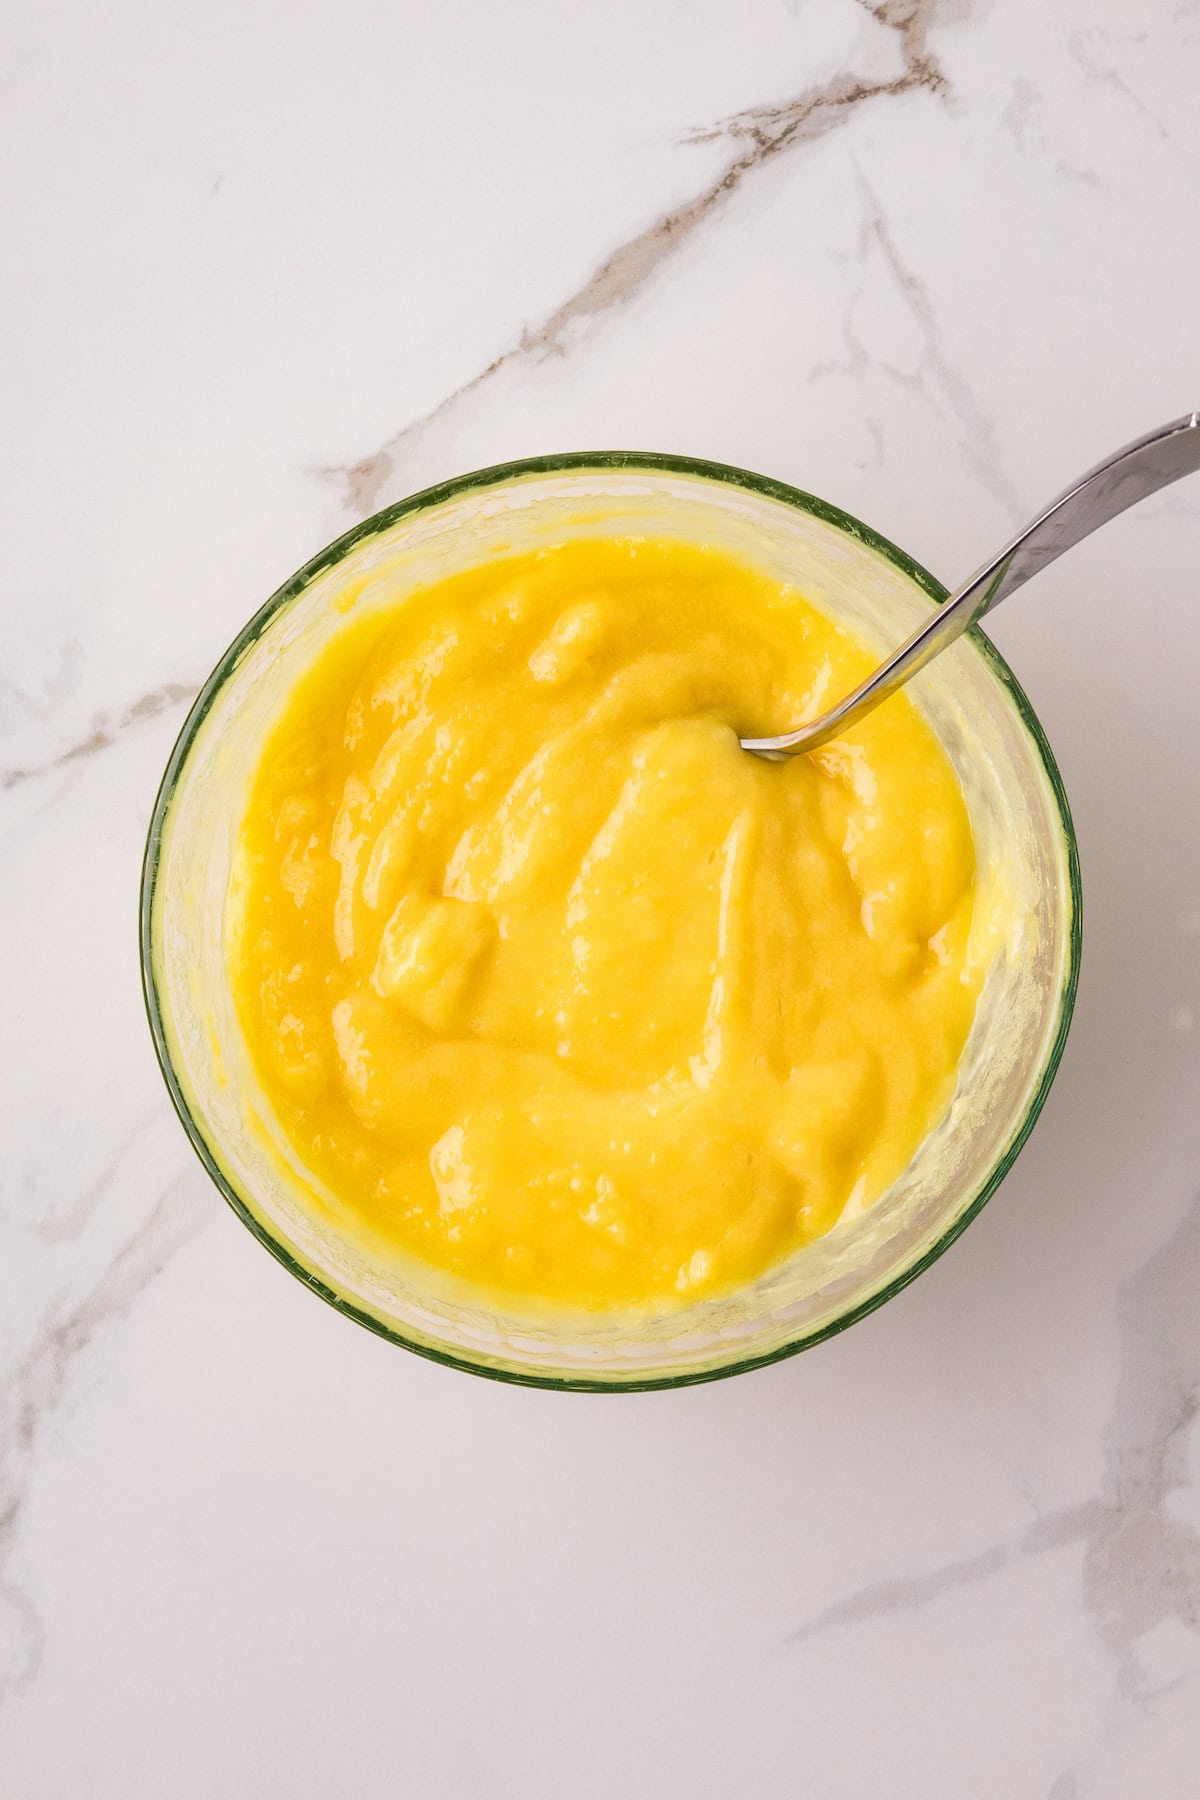
8. Stir before serving.
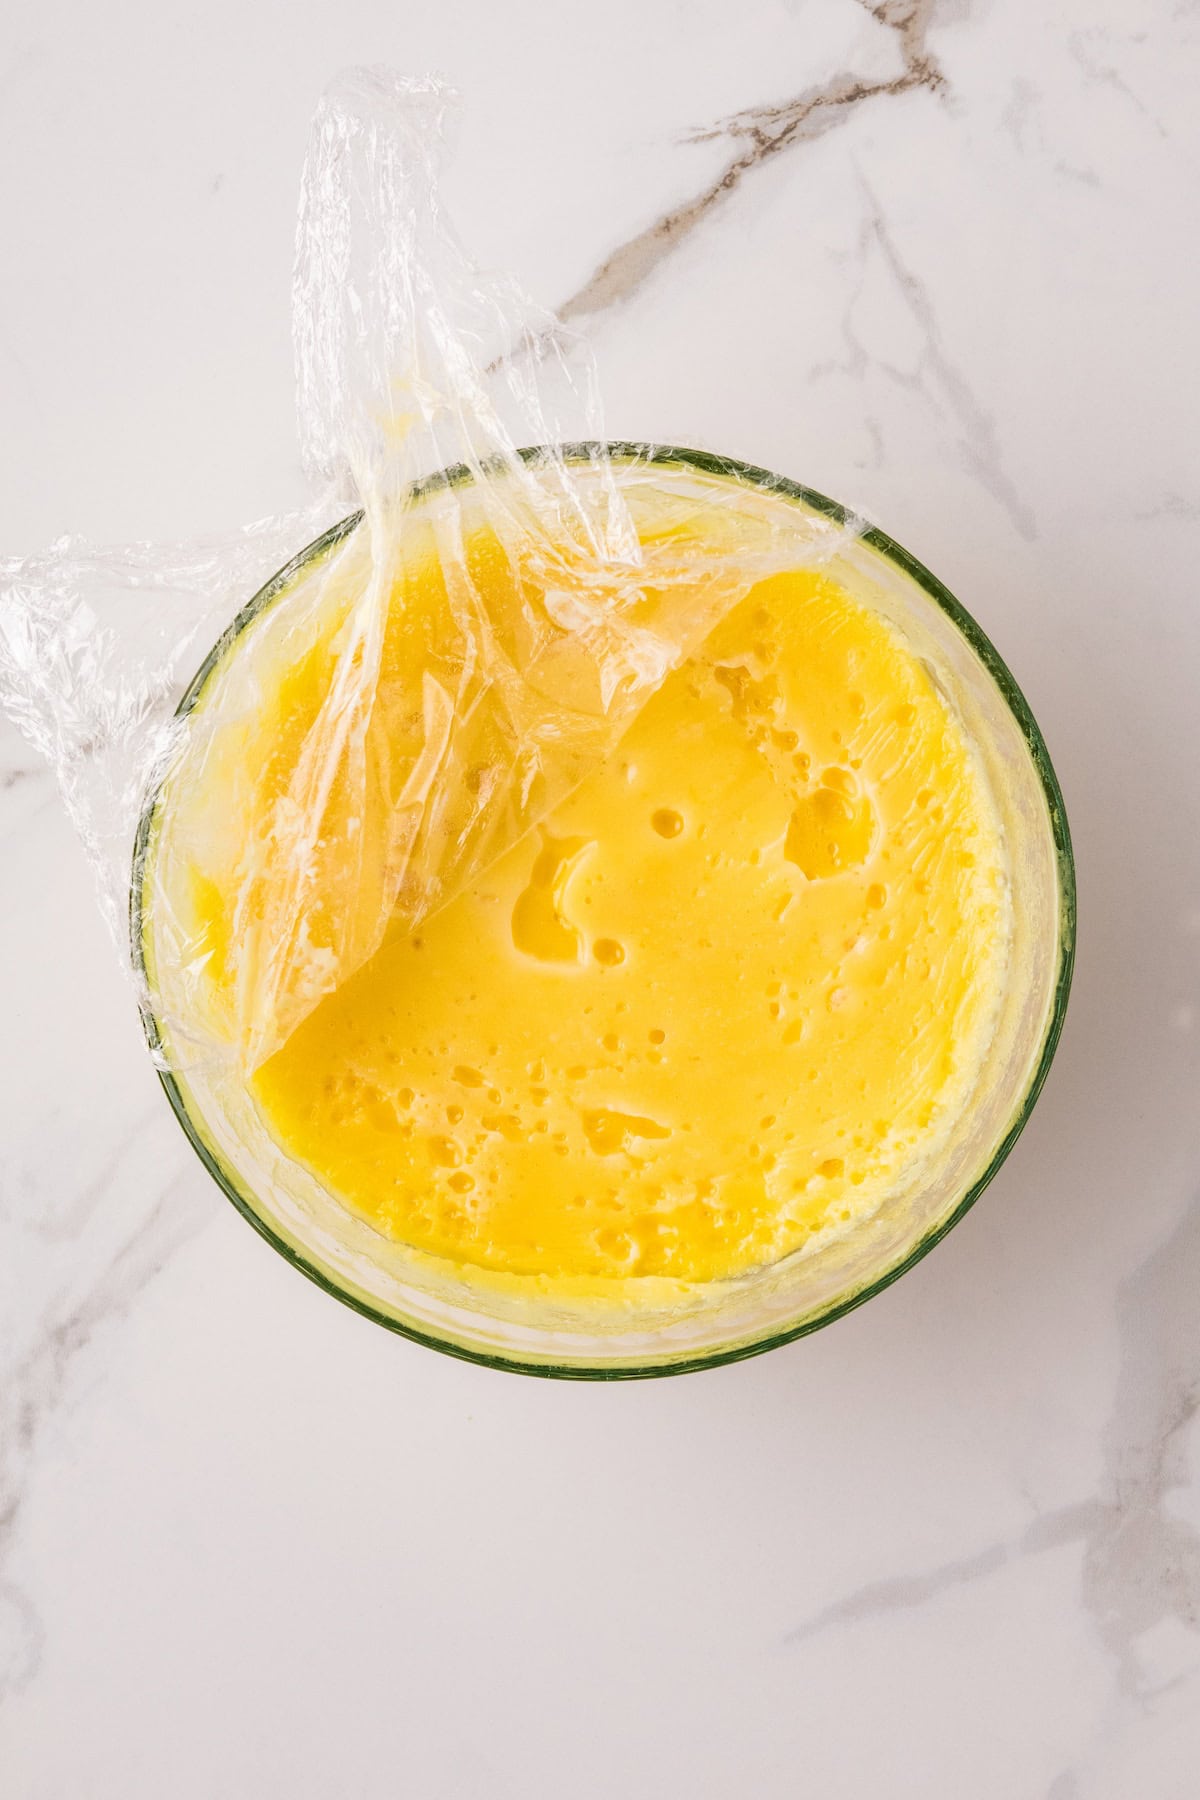
Once the lemon curd has fully chilled and thickened, remove the plastic wrap from the bowl and stir the lemon curd until smooth before serving.
Recipe Tips
- Blend the mixture well before cooking – Blending the eggs, sugar, and lemon juice helps fully combine the ingredients so the eggs cook evenly and don’t scramble during pressure cooking.
- Use fresh lemons for the best flavor – Fresh lemon juice and zest give the curd its bright, vibrant flavor. Bottled juice often tastes flat and lacks the same citrus oils from the zest.
- Avoid zesting the white pith – When zesting the lemon, only zest the yellow outer peel. The white part underneath (called the pith) is very bitter and can affect the flavor of your lemon curd.
- Press plastic wrap directly on the surface – This simple step prevents a skin from forming while the lemon curd chills in the refrigerator.
- Strain for an extra smooth texture – If you prefer ultra-silky lemon curd, strain it through a fine mesh sieve before chilling to remove the lemon zest and any tiny egg bits.
- Let the curd fully chill – Lemon curd thickens as it cools, so allow it to chill in the refrigerator until it reaches that classic spreadable consistency.
Storage & Reheating
- Store – Store lemon curd in an airtight container in the refrigerator for up to 1 week.
- Freezer – Lemon curd freezes well. Transfer it to a freezer-safe container and store for up to 3 months. Leave a little space at the top of the container since the curd may expand slightly when frozen. Don’t forget to label and date the container so you know when it was stored. When ready to use, move the frozen lemon curd to the refrigerator and allow it to thaw overnight. Stir well before serving to restore its smooth, creamy texture.
Serving Suggestions
- Spread on toast, biscuits, or scones – Lemon curd is delicious served warm or chilled on freshly baked bread, buttery biscuits, or homemade scones.
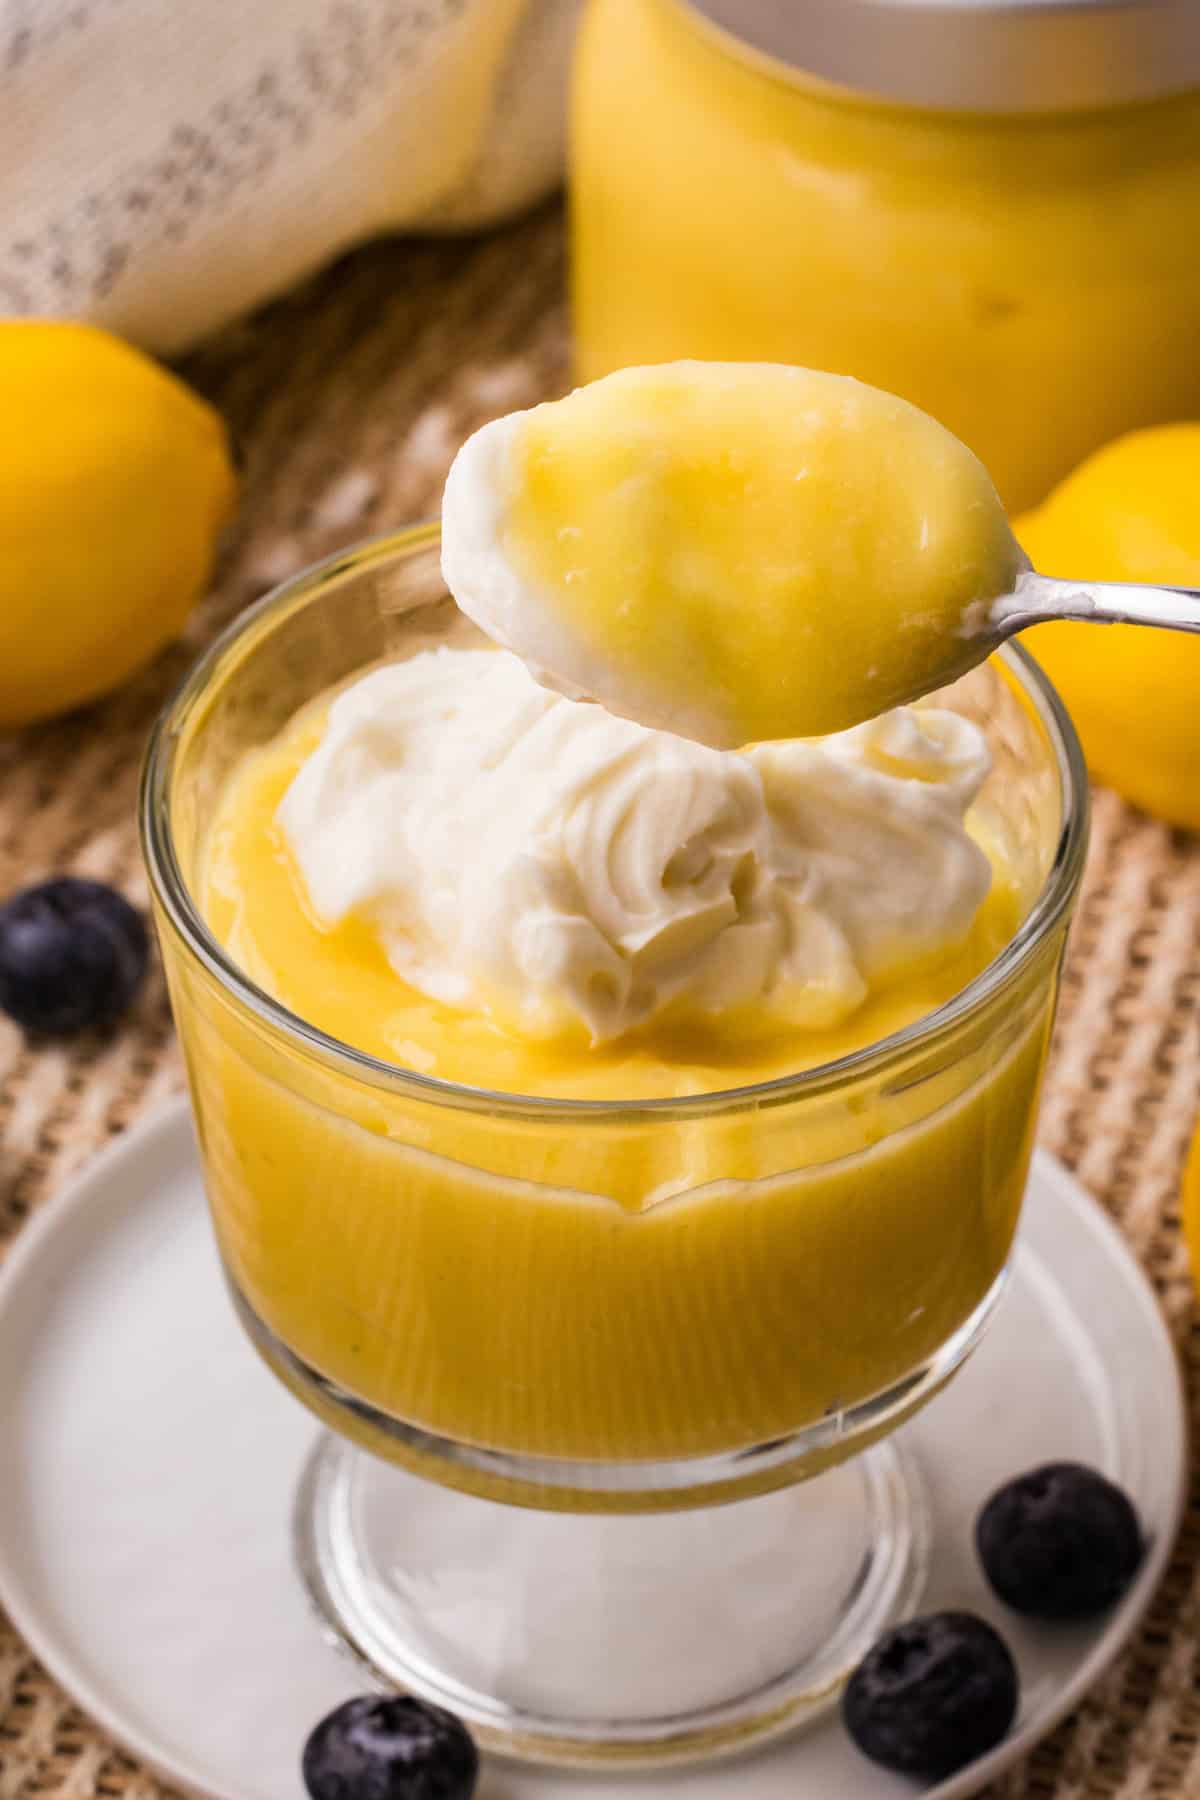
- Top yogurt or oatmeal – Add a spoonful of lemon curd to plain yogurt, chia pudding, or oatmeal for a bright, citrusy flavor.
- Fill cakes and cupcakes – Use lemon curd as a filling for layer cakes, cupcakes, or sandwich cookies for a sweet and tangy surprise.
- Serve with pancakes or waffles – Drizzle lemon curd over pancakes, waffles, or crepes for a fresh and vibrant breakfast topping.
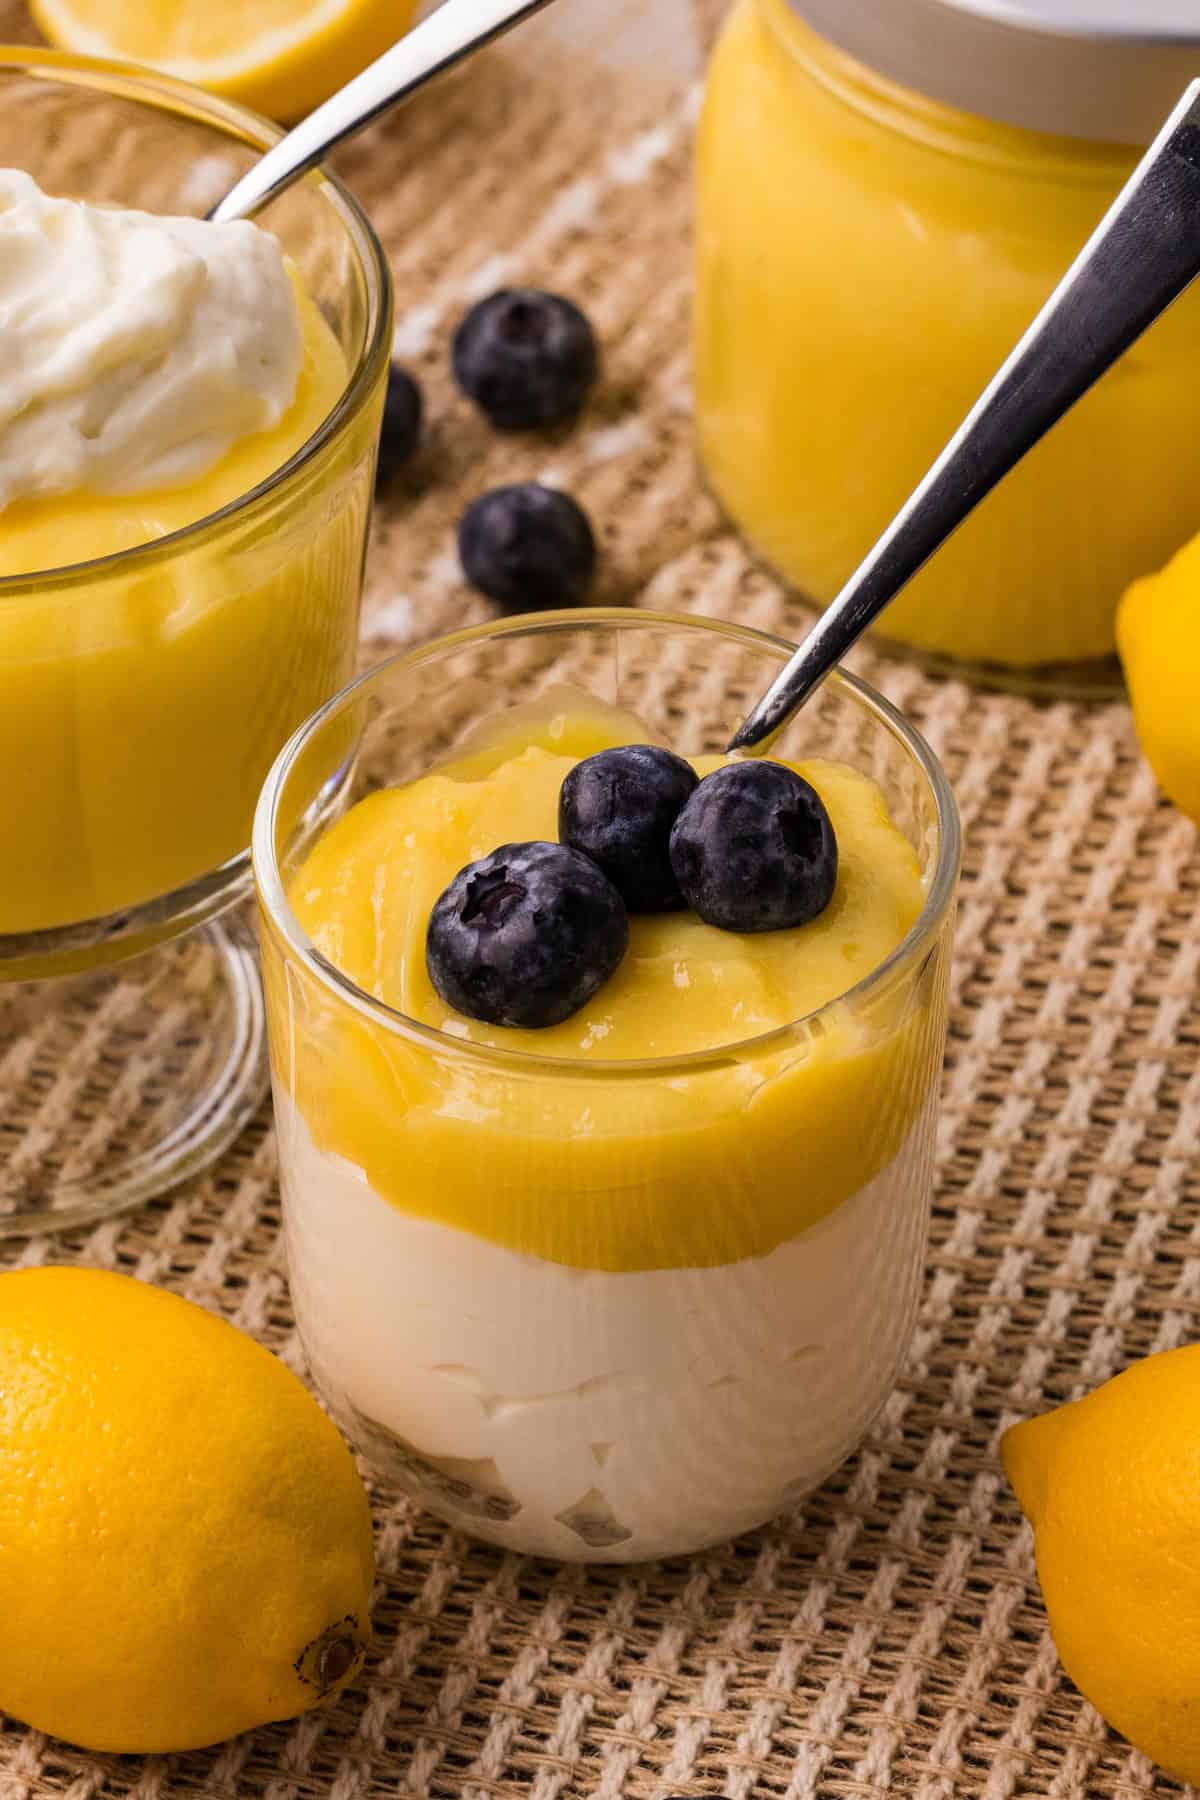
- Layer into parfaits – Alternate lemon curd with yogurt, whipped cream, granola, or fresh berries for a beautiful and flavorful dessert.
- Use as a tart or pie filling – Lemon curd makes a perfect filling for tart shells, mini pies, or lemon bars.
- Pair with fresh fruit – Spoon lemon curd over strawberries, blueberries, raspberries, or sliced peaches for a simple but elegant treat.
Frequently Asked Questions
Freshly squeezed lemon juice is highly recommended for the best flavor. Bottled lemon juice can taste flat or overly acidic and won’t give the curd the same bright citrus taste.
Use a heatproof glass bowl that fits comfortably on the trivet inside your Instant Pot. Make sure it is oven-safe and leaves a little space around the sides so steam can circulate properly.
After pressure cooking and blending, the curd should be smooth and slightly thick. It will continue to thicken as it cools in the refrigerator.
Lemon curd thickens significantly as it chills. If it still seems thin after chilling, it may need more time in the refrigerator or may not have cooked long enough.
Yes. You can use a regular blender to combine the ingredients before cooking. Blending helps ensure the eggs are fully incorporated so they cook smoothly without curdling.
Stored in an airtight container in the refrigerator, lemon curd will keep for 1 week. It can also be frozen for up to 3 months.
For an ultra-silky texture, strain the warm lemon curd through a fine mesh sieve before chilling to remove the lemon zest and any tiny bits of cooked egg.
Easy Instant Pot Lemon Curd (Silky, Bright & Foolproof)
Equipment
- Instant Pot
- Heatproof bowl
- Immersion blender
- Aluminum foil
- Plastic wrap
- Fine mesh sieve, optional
Ingredients
- 1 cup granulated sugar
- ½ cup lemon juice, about three lemons
- 3 large eggs
- 2 egg yolks
- 4 tablespoons butter, melted
- 1 tablespoon lemon zest
Instructions
- Zest the lemon first, then juice the lemons until you have the amount of juice needed for the recipe.
- Add the sugar, lemon zest, lemon juice, eggs, and egg yolks to a heatproof glass bowl that fits inside your Instant Pot, making sure the bowl leaves a little space around the sides so steam can circulate. Using an immersion blender, blend until the mixture is completely smooth. Slowly stream in the melted butter while continuing to blend.
- Tightly cover the bowl with aluminum foil to prevent condensation from dripping into the lemon curd while it cooks.
- Pour 1½ cups of water into the Instant Pot and place the trivet inside. Set the covered bowl on top of the trivet.
- Secure the lid and ensure the pressure valve is set to “Sealing.” Set the Instant Pot to High Pressure for 10 minutes. Once the cooking time is complete, allow the pressure to naturally release for 10 minutes. This means do nothing and let the Instant Pot release pressure on its own. After 10 minutes, carefully turn the pressure valve to “Venting” to release any remaining pressure.
- Carefully remove the lid and lift the bowl out of the Instant Pot. Remove the foil and blend the lemon curd again with the immersion blender until smooth and silky. If your lemon curd looks slightly thin after cooking, don’t worry — it thickens significantly as it chills.
- Press plastic wrap directly onto the bowl to prevent a skin from forming. Transfer to the refrigerator and chill for 1-2 hours, or until thickened.
- Once the lemon curd has fully chilled and thickened, remove the plastic wrap from the bowl and stir the lemon curd until smooth before serving.